Coffee Roasting Overview •
Read our coffee roasting article
Coffee Roasting Guide: Tips and Tricks for the Home Roaster
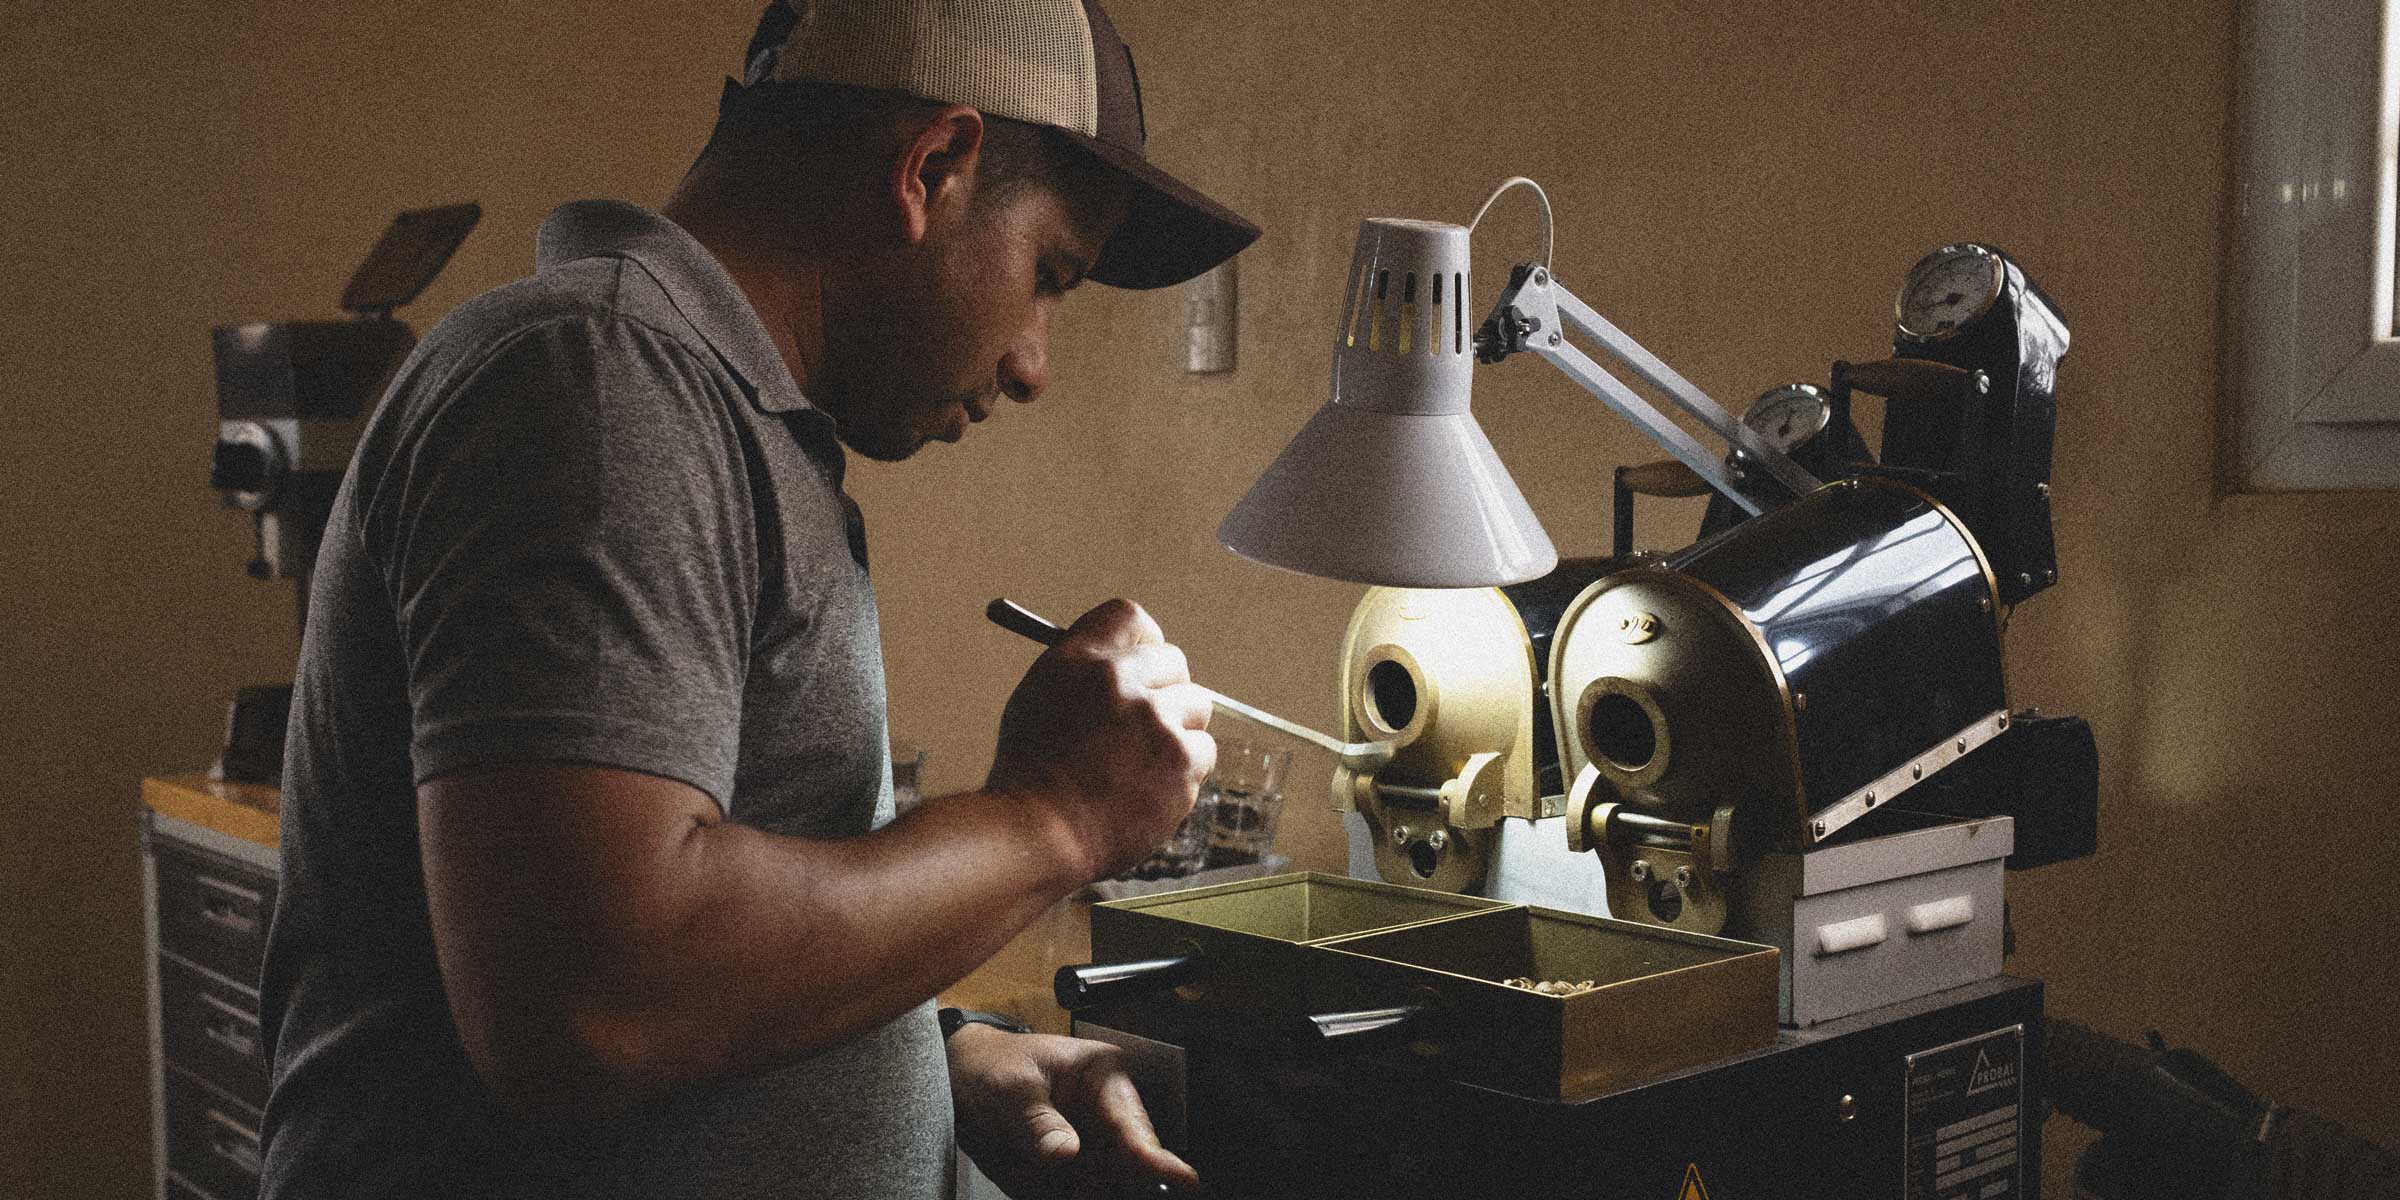
Let’s say you’ve decided to embark on the journey of becoming a home roaster.
You’ve invested in a Whirley Pop (click here if you don’t know what we’re talking about). You’ve purchased a bag of green coffee beans. This is your moment.
You turn on your stove and begin to crank and crank and crank, until the beans look just about perfect.
Eagerly, you grind them, grab your Chemex, and take that first proud sip—only to spit it out.
Because it’s grassy. Or flat. Tastes like cardboard. Or maybe burnt.
Welcome to the learning curve of home roasting.
Don’t worry—you’re not alone. We’ve been roasting for over a decade and have had our share of “cardboard coffee” moments too.
The good news? With a little understanding and a few adjustments, you can get from “burnt popcorn” to “best cup ever” faster than you think.
The first step in improving your home roasting is to understand what’s actually happening in the process. If you haven’t already, check out our article here for an overview of the four stages of coffee roasting.
We’ve recommended it before, but Rob Hoos’ book on coffee roasting, Modulating the Flavor of Coffee: a Roaster’s Manifesto, is a great resource full of game changing insights. Like how every stage of the roast contributes something different.
Once you’ve got that foundation, you’re ready for tips, tricks, and troubleshooting. Let’s start with understanding one of the biggest variables in the roasting process: origin.
Roasting Different Origins and Processes
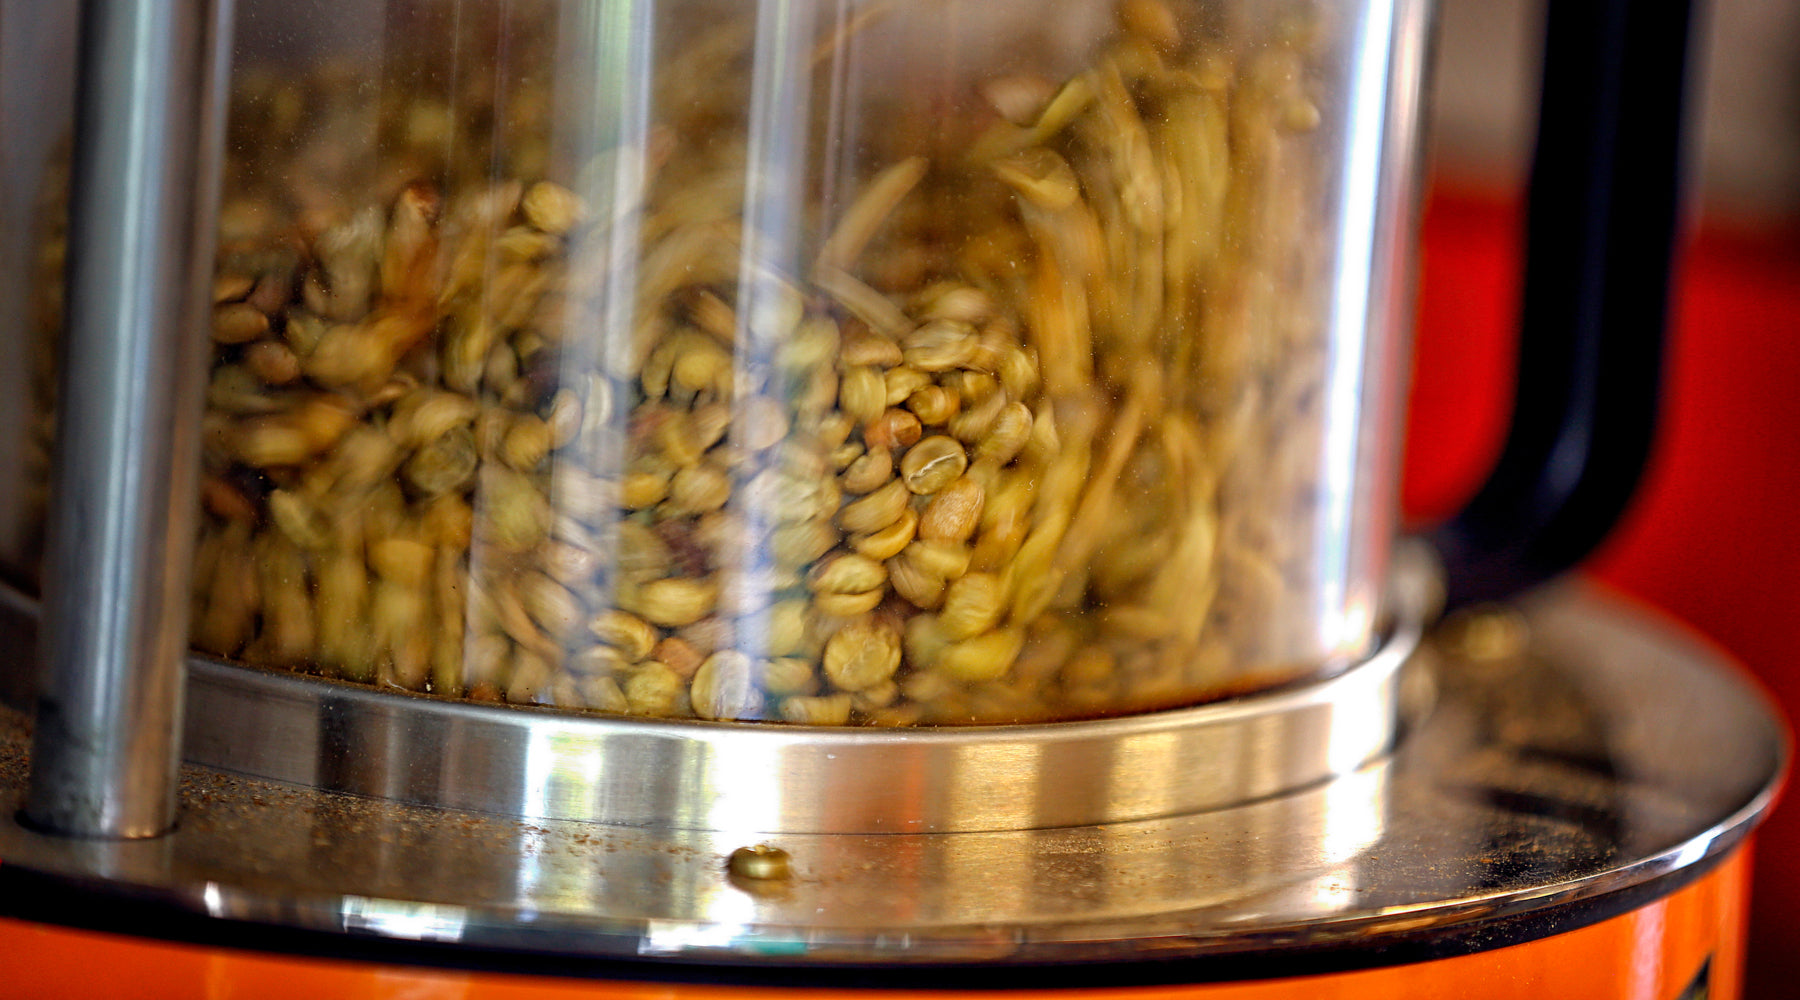
Not all coffee wants to be roasted the same way. The beans’ origin and processing method influence how it behaves in the roaster.
-
Washed vs. Natural Processed Coffees: Washed (wet) coffees are clean, predictable, and forgiving. They can handle a wide range of roast profiles.
Natural (dry) processed coffees, on the other hand, are wild cards. They're already sweet and fruity but can turn funky or fermented if pushed too hard.
We tend to roast naturals faster and lighter than washed coffees, usually shortening the browning stage to preserve their inherent fruitiness while avoiding over-fermentation flavors.
-
African Coffees: Ethiopians and Kenyans are special. Their unique florals and fruit acids are delicate and easily destroyed. We typically run these faster (9-10 minute total roast time) with shortened browning stages (3-4 minutes) to preserve their character.
The development stage can also be shortened. Some of the best Ethiopians we’ve roasted dropped just as first crack completes.
-
Central and South American Coffees: These are your workhorses. Balanced, chocolatey, nutty. They're also forgiving and can handle classic roast profiles.
We like to do 11-12 minute roasts with 4-5 minute browning stages and 1:30-2:00 development. These are great learning coffees because they'll taste good across a wide range of profiles.
-
Specialty Processing, Honeys, Anaerobics, etc.: These expensive, exotic processes need gentle treatment. Honey processed coffees fall between washed and natural and have all sorts of sweetness. Anaerobic fermentation creates unique flavors that are easily overwhelmed by roast character.
Stay light with these–the equivalent of City (light roast) to City+ (light-medium roast) maximum. And be careful with the acidity. We’ve had some fermentations that were undrinkable when roasted poorly.
Now that we’ve understood why origin and processing matter, it’s time to move on to some general tips and guidelines when it comes to roasting your own coffee.
Tips for the Home Roaster
Think of these as guidelines, not rules—more like bowling lane bumpers than a precision nail gun.
Sweetness: Achieved through proper caramelization without going too dark. Allow for adequate development time but stop before sugars turn bitter. A slower overall roast helps build sweetness.
Acidity: Preserved with shorter development times and faster overall roasts. But be aware there is good acidity (citrus, wine-like, phosphoric) and bad acidity (metallic, sour, chlorogenic acids–the natural chemicals that give coffee its bitterness and acidity.). The trick is developing just long enough to eliminate the bad acidity while still preserving the good.
Body: Built primarily during the browning stage through melanoidin development–the process where dark brown compounds form when food is roasted or cooked. Longer browning = heavier body. You can have a light roast with heavy body (long browning, short development) or a dark roast with light body (short browning, long development).
Complexity: Comes from giving each stage adequate time to develop its compounds fully. Rushed roasts taste one-dimensional regardless of final color.
Here are a few ways we modulate flavors depending on what we taste:
-
If a coffee tastes promising but flat, we extend the browning stage by 30-60 seconds to build complexity.
-
If it's too heavy and muddy, we speed up the browning stage to lighten the body.
-
Too sour and sharp, we add 15-30 seconds of development.
-
If it begins to lose its origin characteristics, we pull back on development time.
Once you understand these relationships, tasting becomes a tool you know how to use. You’ll know exactly which lever to pull to bring balance back.
But what if you’re making these adjustments and you’re still running into trouble? Don’t worry! Here are a few classic troubleshooting scenarios.
Troubleshooting: Why Your Coffee Tastes Like That
First, we are big believers in taking notes with every roast to keep track of what you did.
One day, you’ll brew your best cup ever—and without notes, you’ll never know how to recreate it. Notes are equally helpful when things go wrong.
Problem: Metallic, vegetal, or grassy flavors. This is classic underdevelopment. Your coffee didn't spend enough time in development after first crack, leaving chlorogenic acids intact.
Solution: Extend development time by 15-30 seconds. If you're already over 2 minutes development, the problem might be that your overall roast is too fast. Slow down the entire roast to allow proper development at lower pressure.
Problem: Flat, baked, dull coffee with no character. Your roast stalled; it lost momentum. This usually happens when you drop the heat too much after first crack or if your drying stage was too long. The beans essentially bake instead of roast.
Solution: Maintain steady heat through the roast. If you need to reduce heat after first crack, do it slightly–not dramatically.
Problem: Burnt or ashy flavors but the beans look light. You scorched them early. Too much heat during the drying stage charred the outside while the inside was still wet. You might also see dark spots on the flat side of the beans.
Solution: Lower your initial heat and extend your drying stage to 4-6 minutes.
Problem: No sweetness, tastes like cardboard. Either you went too dark (converted all the sugars to bitter compounds) or you went too fast (didn't develop sweetness through proper Maillard reactions). Check your total roast time. Anything under 8 minutes often lacks sweetness.
Solution: Slow down your overall roast or stop earlier.
Problem: One-dimensional, boring coffee. You rushed the browning stage. Without adequate time for Maillard reactions, you don't build complexity.
Solution: Lower your heat between yellow and first crack to extend this stage to at least 4 minutes.
Problem: Sour but not in a good way. Different from bright acidity, sourness usually means severe underdevelopment or uneven roasting. The inside of the bean is basically still green.
Solution: Extend development time and ensure consistent agitation throughout the roast.
Problem: Roasty flavor dominates everything. You've gone too dark for the coffee's character. Once you hit Full City+, origin characteristics get buried under roast flavors.
Solution: Stop earlier. Try stopping the roast 30 seconds sooner and see if the origin character returns.
Those are some common problems in roasting.
But before we sign off on tips and tricks, let’s talk for a minute about the unglamorous tips that nobody mentions but everybody needs to know: safety tips.
Safety and Reality Check
Smoke Management. You will make smoke. A lot of it. More than you think. Our hack to this? Roast indoors under the hood, but don’t open the lid until you run out the back door with a colander in your hand.
Chaff is Flammable. Those papery skins that come off the coffee? They're basically tinder. They can ignite if they build up near heat sources. Clean your roaster after every session.
Fun fact: Our owner learned this early on when he nearly set his garage on fire in Sagebrush’s early days. (The photo’s still on our Instagram.)
Ready, Set, Roast!
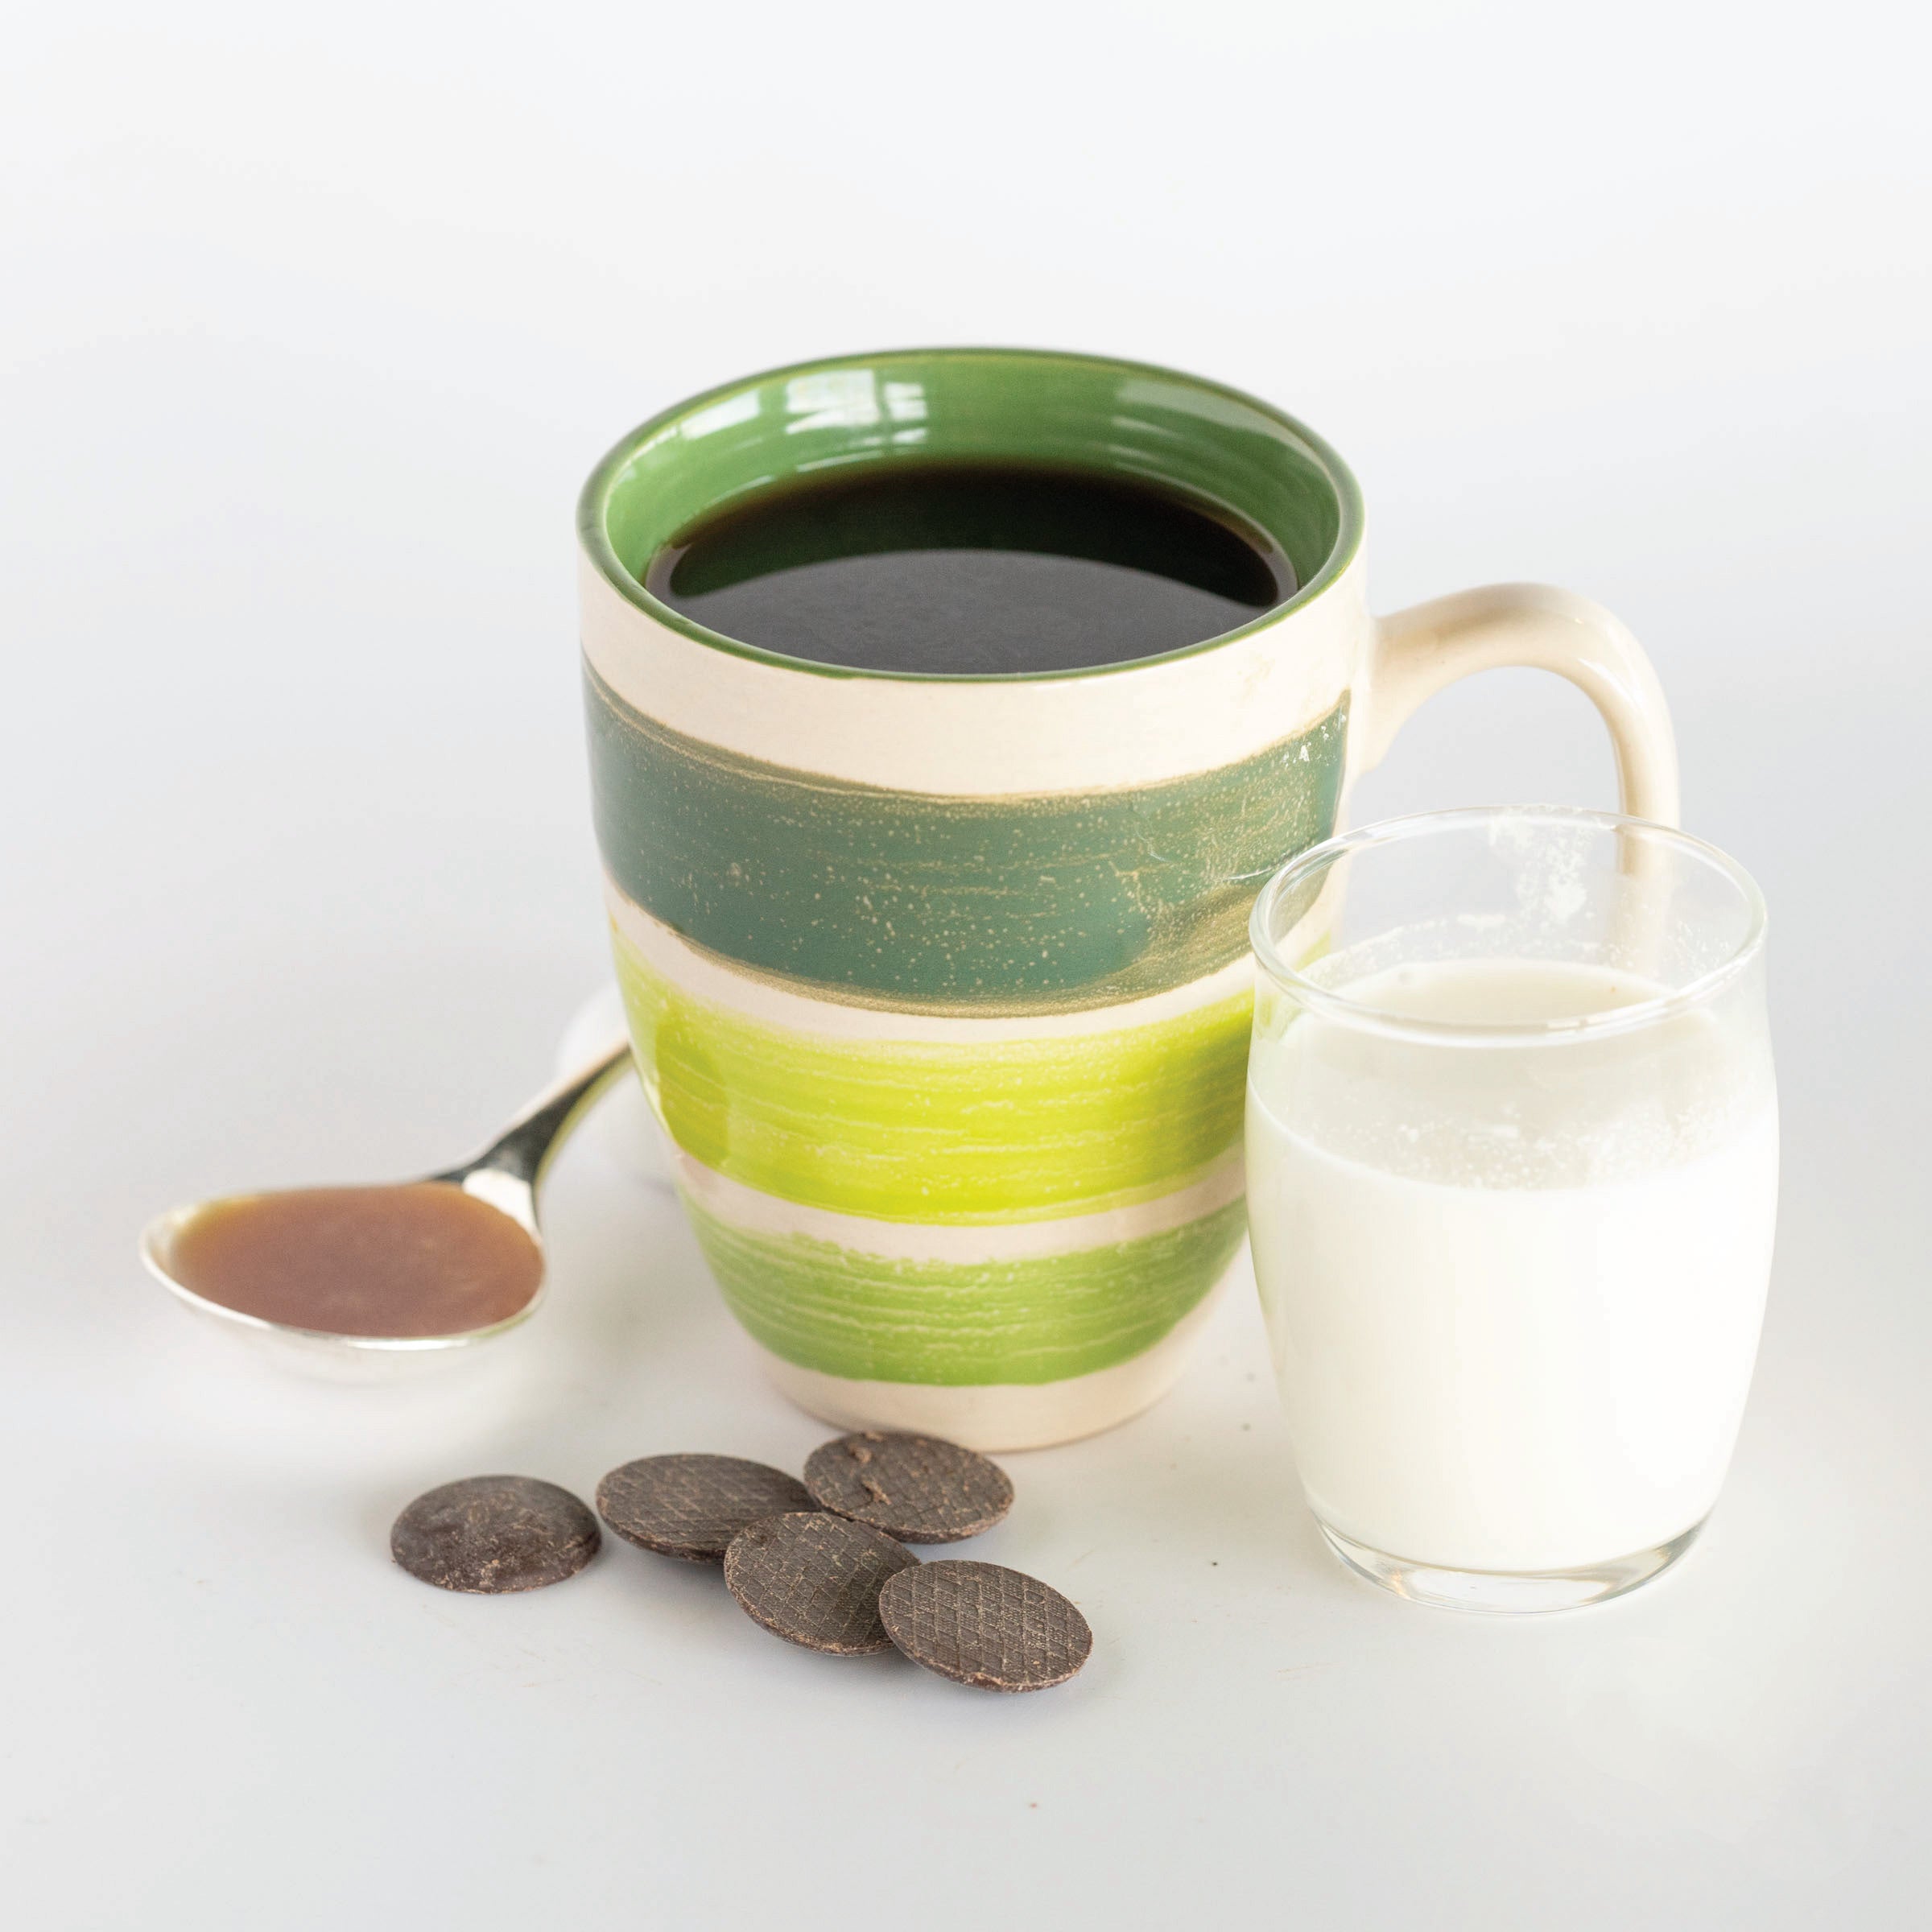
Home roasting isn’t just about saving money or even freshness—it’s about understanding coffee at its core.
Start simple with that Whirley Pop. Focus on nailing those four stages. Keep good notes. Taste everything.
Within a few months, you'll be making coffee that amazes you. Within a year, you'll have friends begging you to roast for them.
And somewhere along the way, you’ll realize you’ve joined a centuries-old tradition of people gathered around fire, turning green beans into the sweet nectar of life.
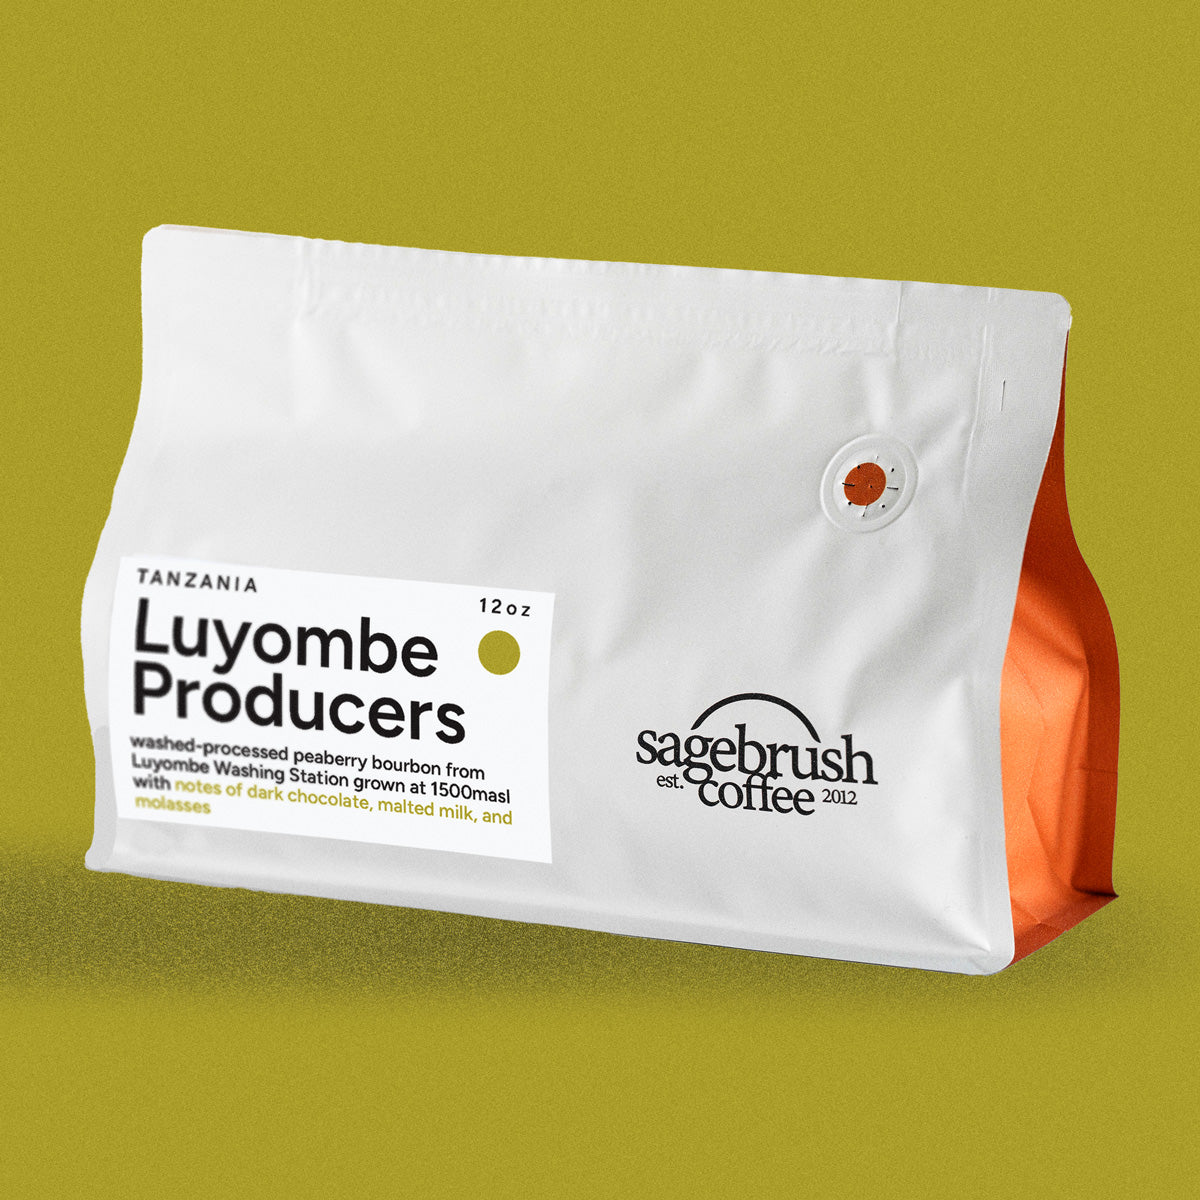
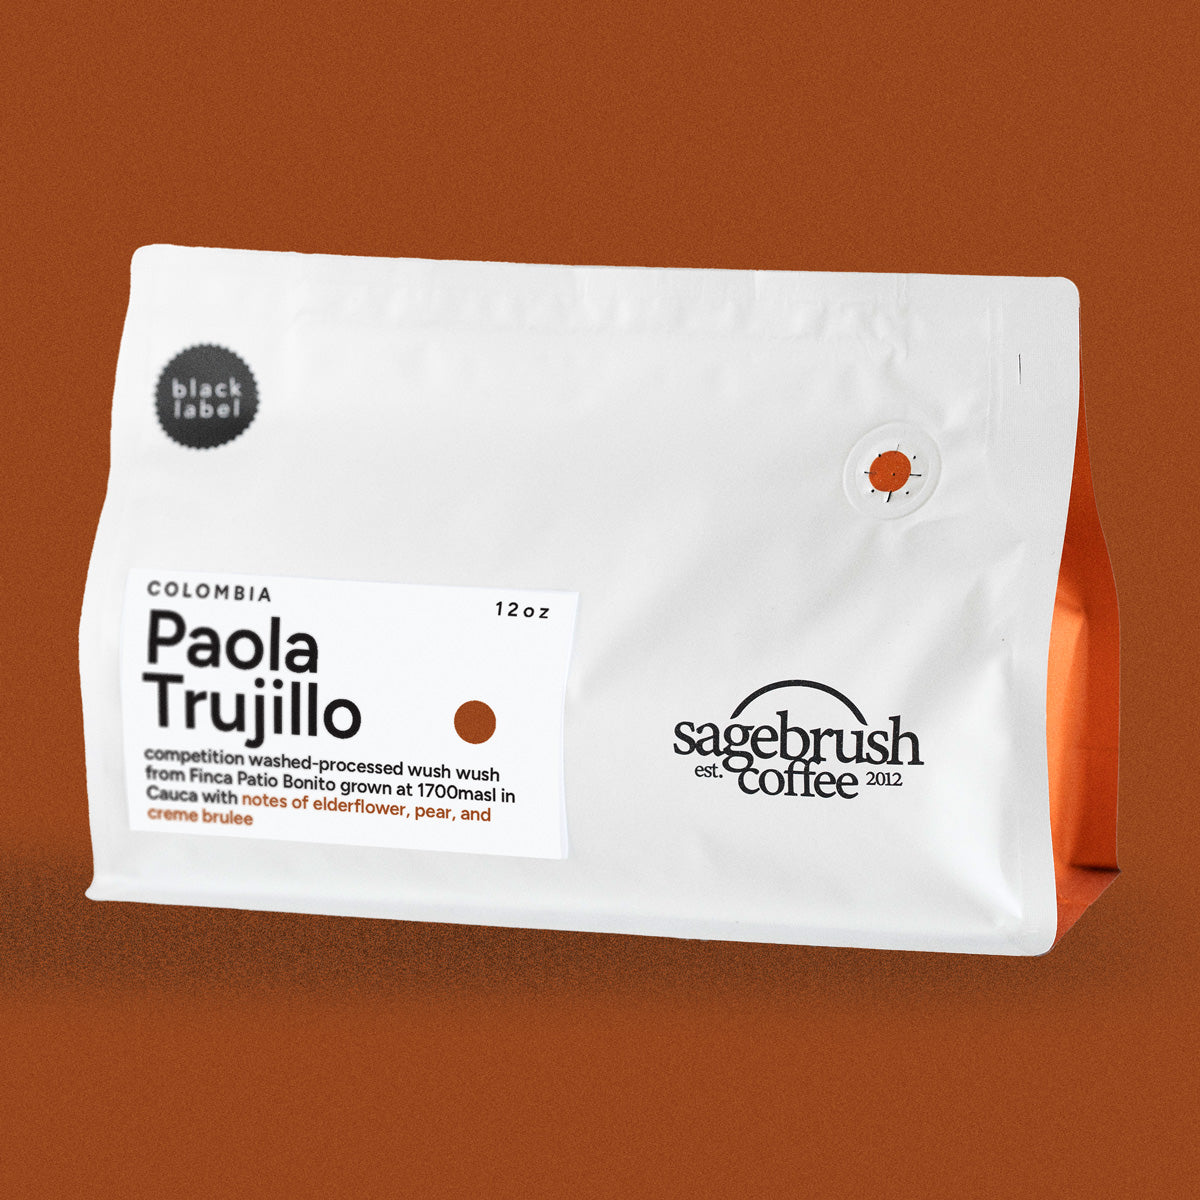
Shop Our Coffees


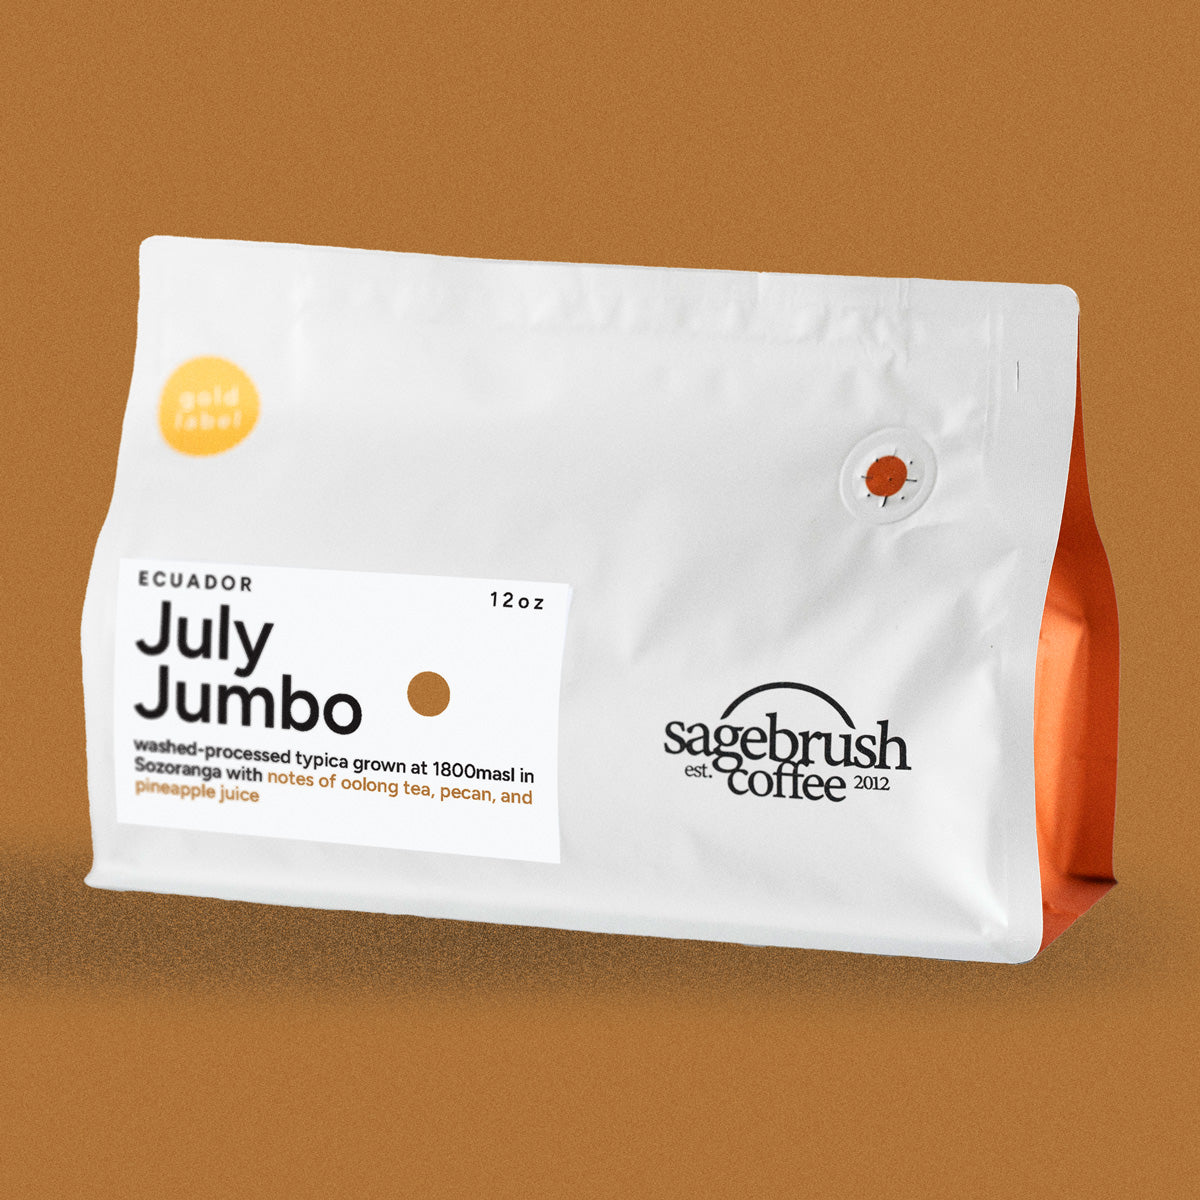

July Jumbo • Washed-Processed Typica
Deep Dive Into Coffee Roasting Articles