Coffee Roasting Overview •
Read our coffee roasting article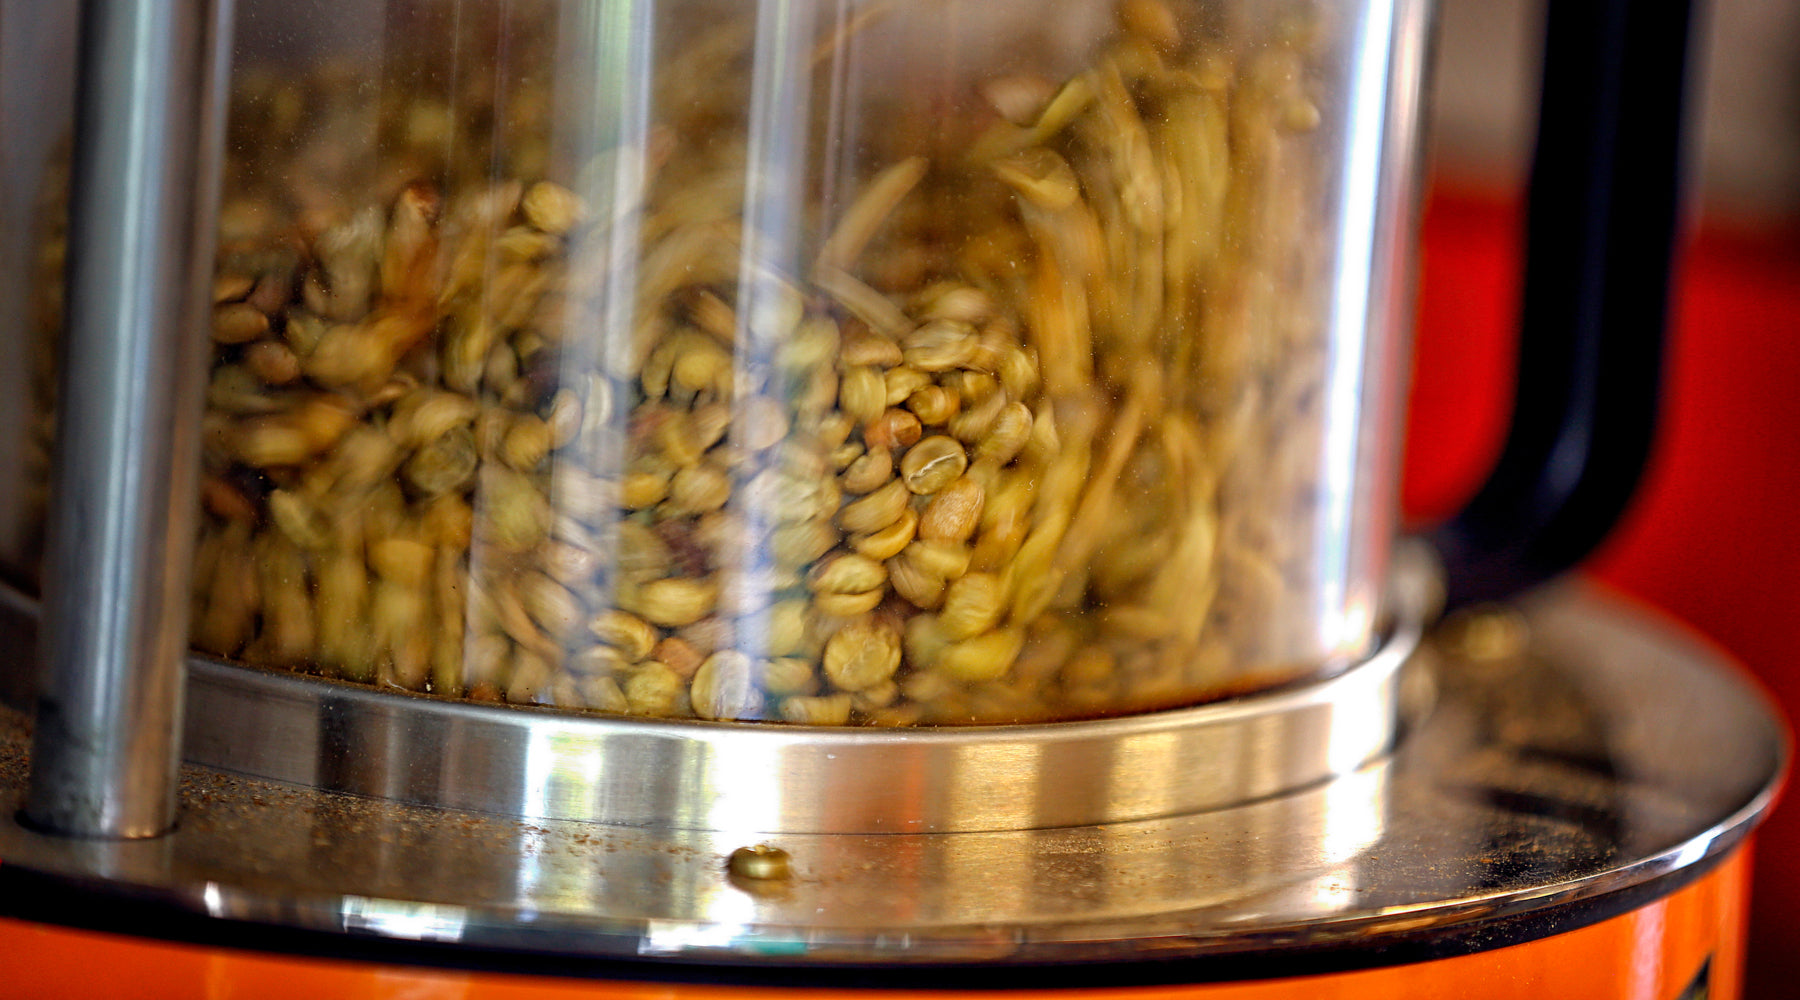
Coffee Roasting Guide: The Four Stages of a Coffee Roast
Combining the sounds of popcorn popping with the smell of fresh baked bread, roasting your own coffee at home is a journey for all your senses.
If you’re new to this topic, hop on over to read our overview of home roasting here.
After you’ve purchased your very own Whirley Pop and some inexpensive green coffee beans, you’re ready to start roasting.
Now, you could just wing it, learn by trial and error–and we wouldn’t judge you for it.
But having a general compass for what direction to head with it will make your first foray into roasting way more enjoyable.
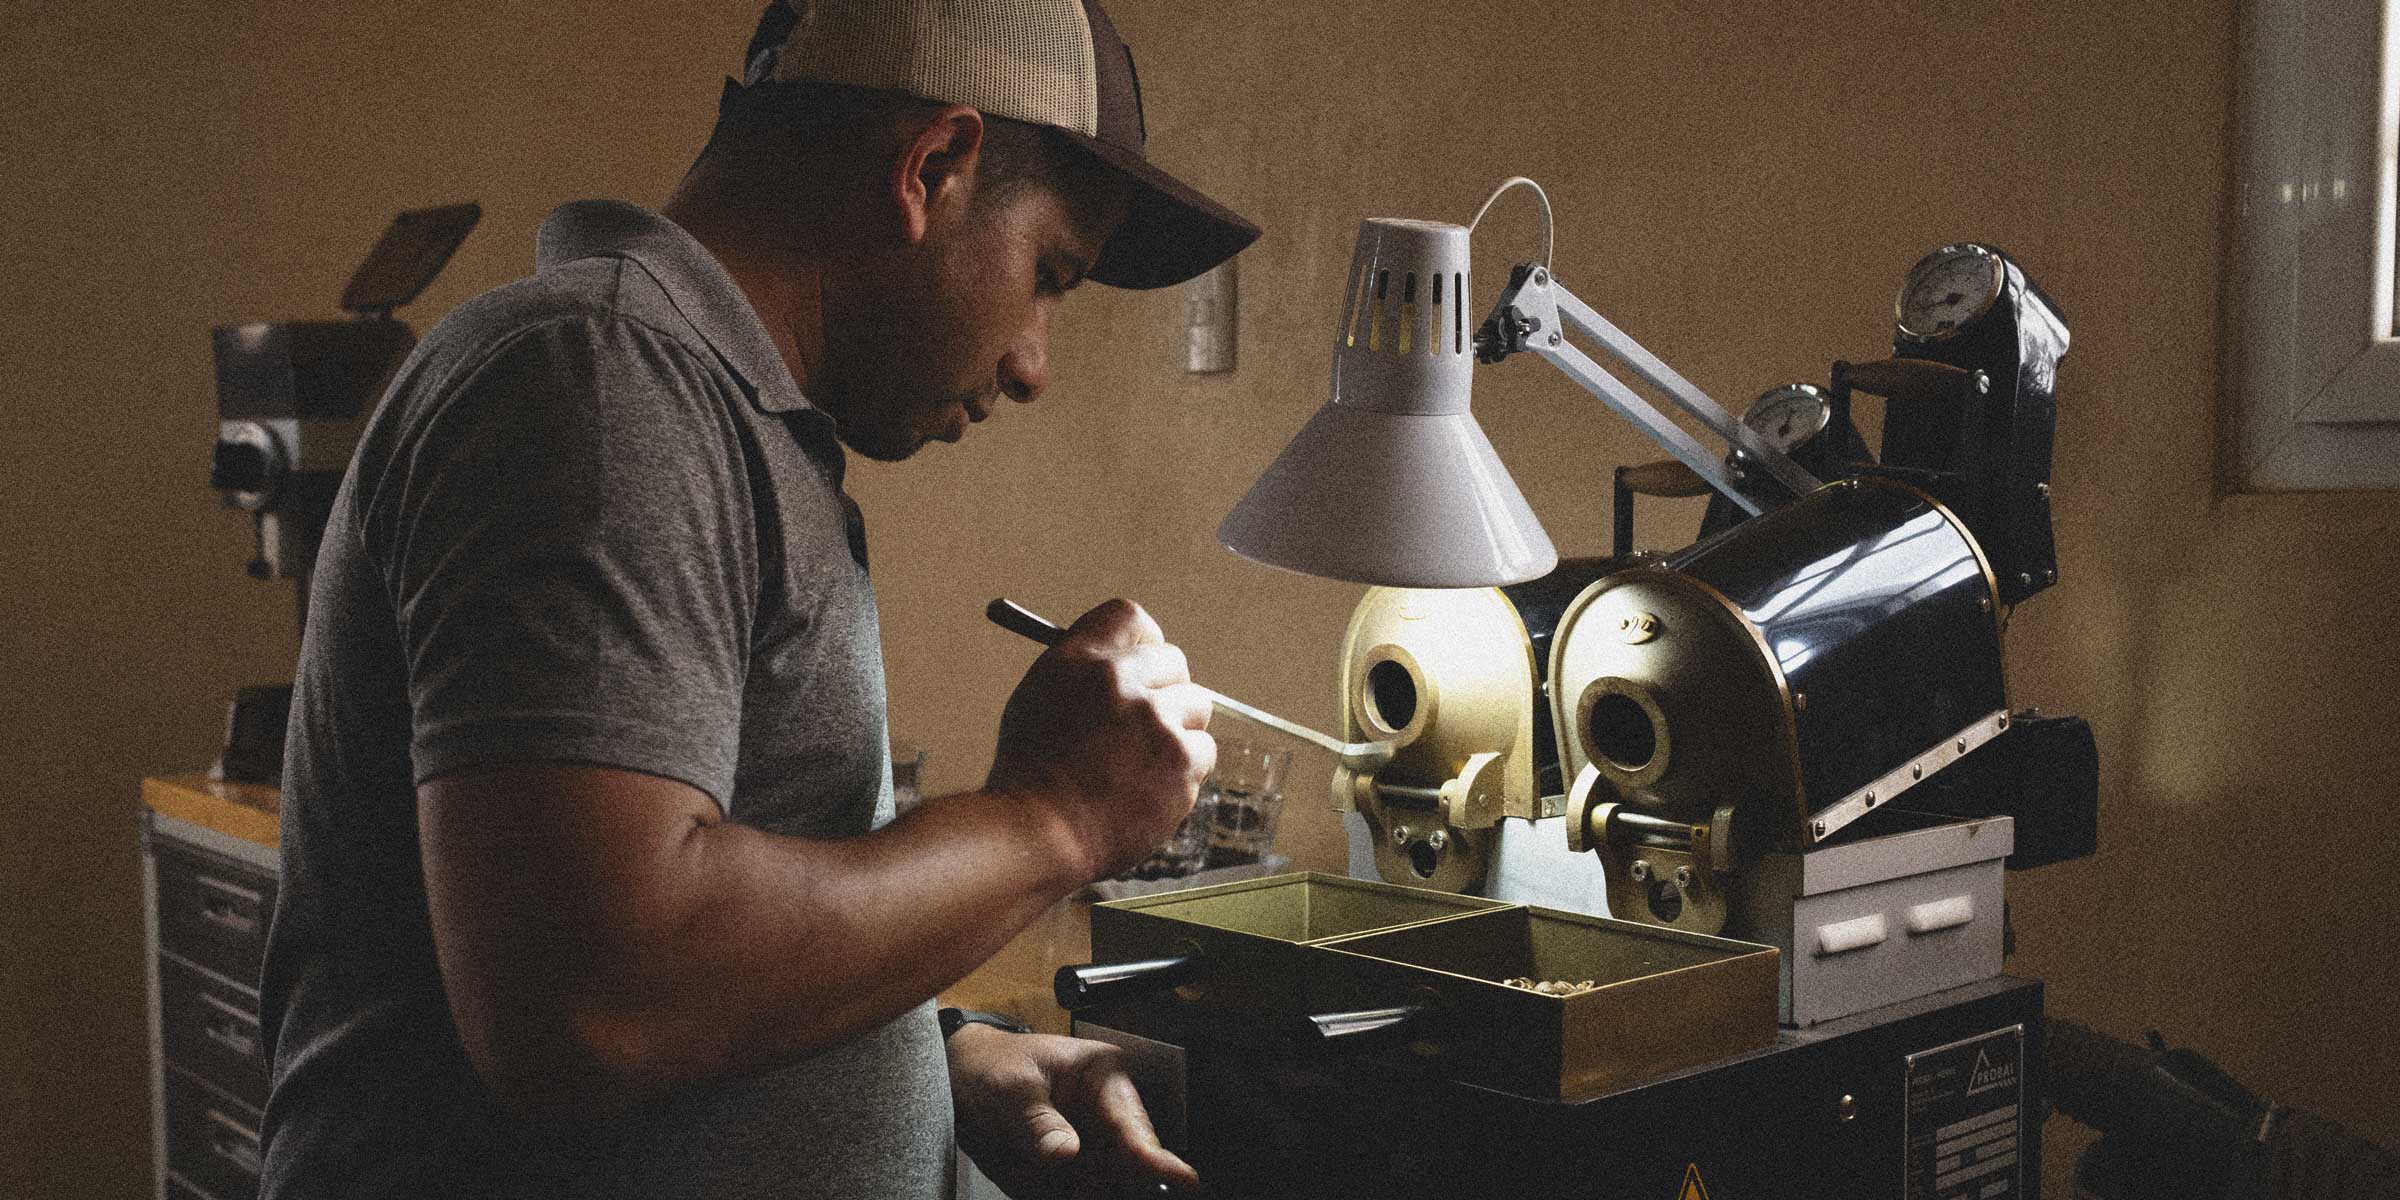
As a roastery, the best compass for roasting we know of is Rob Hoos’ book on the four stages of a coffee roasting: Modulating the Flavor of Coffee: a Roaster’s Manifesto. This book helped us learn how to roast, along with thousands of other home and professional roasters. We’ll be pulling quite a bit from that resource here, but we highly recommend it if you want to learn more.
In short, once you understand the four stages of roasting, you can manipulate them to get exactly the coffee you want.
Stage 1: The Drying Stage (Green to Yellow)
When you first add room-temperature beans to your hot roaster, you're not really roasting yet–you’re drying.
The beans absorb heat, moisture turns steam and begins to escape, and the internal pressure starts to build. This stage starts when you add the beans and ends when they turn from green to yellow and start smelling like hay or bread.
In your Whirley Pop, this takes about 4-6 minutes on medium heat.
We’ll be giving reference times for the sake of guidelines, but there are a lot of variables that dictate roasting time. For that reason, it’s helpful to focus just as much on the sights and smells of roasting as on the time and temperature.
At first, the beans will smell grassy, then like wet hay, then like bread baking. When they're uniformly yellow-tan (peek through the vents to see), you're done with drying.
In this stage, you're driving off moisture so the important chemical reactions can begin. If you go too fast here (think: roasting on high heat for under 3 minutes), you'll scorch the outside while the inside is still wet. This creates a terrible burnt-grain flavor that nothing can fix.
But if you go too slow (over 8 minutes), you're setting yourself up for a flat, dull coffee because there won't be enough energy in the system for proper development later.
The trick in this stage is steady, even heat that brings the entire batch up to temperature together. In the Whirley Pop, this means medium heat with constant cranking.
No stopping to answer texts. We recommend audiobooks to pass the time.
Stage 2: The Browning Stage/Maillard Reaction ( Yellow to First Crack)
The biggest misperception in coffee roasting is that the end stage is the only important part when, in my opinion, this stage is. Because this is where the chemical magic happens.
Once your beans are yellow and dry enough, the Maillard reaction kicks in. The Maillard reaction is basically a browning process–it’s the reaction that browns bread and caramelizes your steak. This stage creates hundreds of flavor compounds that give coffee its body and complexity.
You'll know you're in this stage because the beans go from yellow-tan to light brown and the aroma shifts from bready to something more complex, nutty, and sweet. I always smell brown sugar. This stage typically takes another 4-5 minutes in the Whirley Pop.
The length of this stage dramatically affects your coffee's body and complexity.
Rush through it in 2-3 minutes, and you will get tea-like, simple coffee with bright acidity but no depth. Stretch it to 6-7 minutes, and you will get a heavy body and tons of complexity, but potentially muddled flavors.
You may have preferences more towards one of these than the other. The key is knowing how to control this stage with your heat: lower heat extends this stage; higher heat shortens it.
Stage 3: Development (First Crack to Drop)
First crack sounds like popcorn popping–literally.
The steam and CO2 finally build enough pressure to crack the bean structure. This is where things get really interesting because multiple chemical reactions happen here simultaneously.
Note: when we say “first crack”, we don’t just mean the first bean to crack. We mean when the entire batch cracks like popcorn.
The Maillard reaction is still going at this stage, but now has new compounds to work with. Sugars are caramelizing. Acids are breaking down, chlorogenic acids (bitter, metallic) are decomposing while pleasant acids (citric and malic) are degrading more slowly.
The trick is finding the sweet spot where the nasty acids are gone but the good ones remain.
A good rule of thumb for this stage is as follows (though it varies so much depending on so many variables I hesitate to even throw it out there):
-
Under 45 seconds of development = metallic, grassy, possibly vegetal
-
45-90 seconds = bright, acidic, fruit-forward
-
90 seconds-2:30 = balanced, sweet, classic
-
Over 2:30 = low acid, heavy body, approaching bitter
For your Whirley Pop, I'd start with 1:30-2:00 of development time for most coffees. You might need to reduce heat slightly after first crack begins to avoid rushing through this stage.
Stage 4: Degree of Roast (Final Temperature)
This stage is primarily about sugar caramelization and pyrolysis (thermal breakdown). The darker you roast, the more sugars convert to caramelized compounds, trading sweetness for complexity and eventually bitterness.
Following the guidelines given here will get you somewhere in the neighborhood of a light roast.
If you’re measuring temperature with a candy thermometer, this should take you right around 390°-410°. Without a thermometer in your Whirley Pop, you're going by color, sound, and smell.
At Sagebrush, our roasting philosophy is to roast in a way where we highlight the flavors inherent to the coffee bean and origin rather than those imparted by the actual roasting process. Our mission is to put on display the hard work of coffee producers and so we never want to let the roasting process steal the show.
There is a ton more that goes into roasting the perfect batch of coffee. If you’re looking to learn more, we cover some tips and tricks for roasting in a different article.
Again, don’t be discouraged if it takes you multiple batches to get the hang of this! We definitely didn’t get it on the first try…or the second…or the third. It takes time and practice and tasting lots and lots of coffee to figure out exactly how you like your coffee roasted.
It’s a journey, but if you commit to it, it’s a journey with a delicious destination and one that is far worth taking.
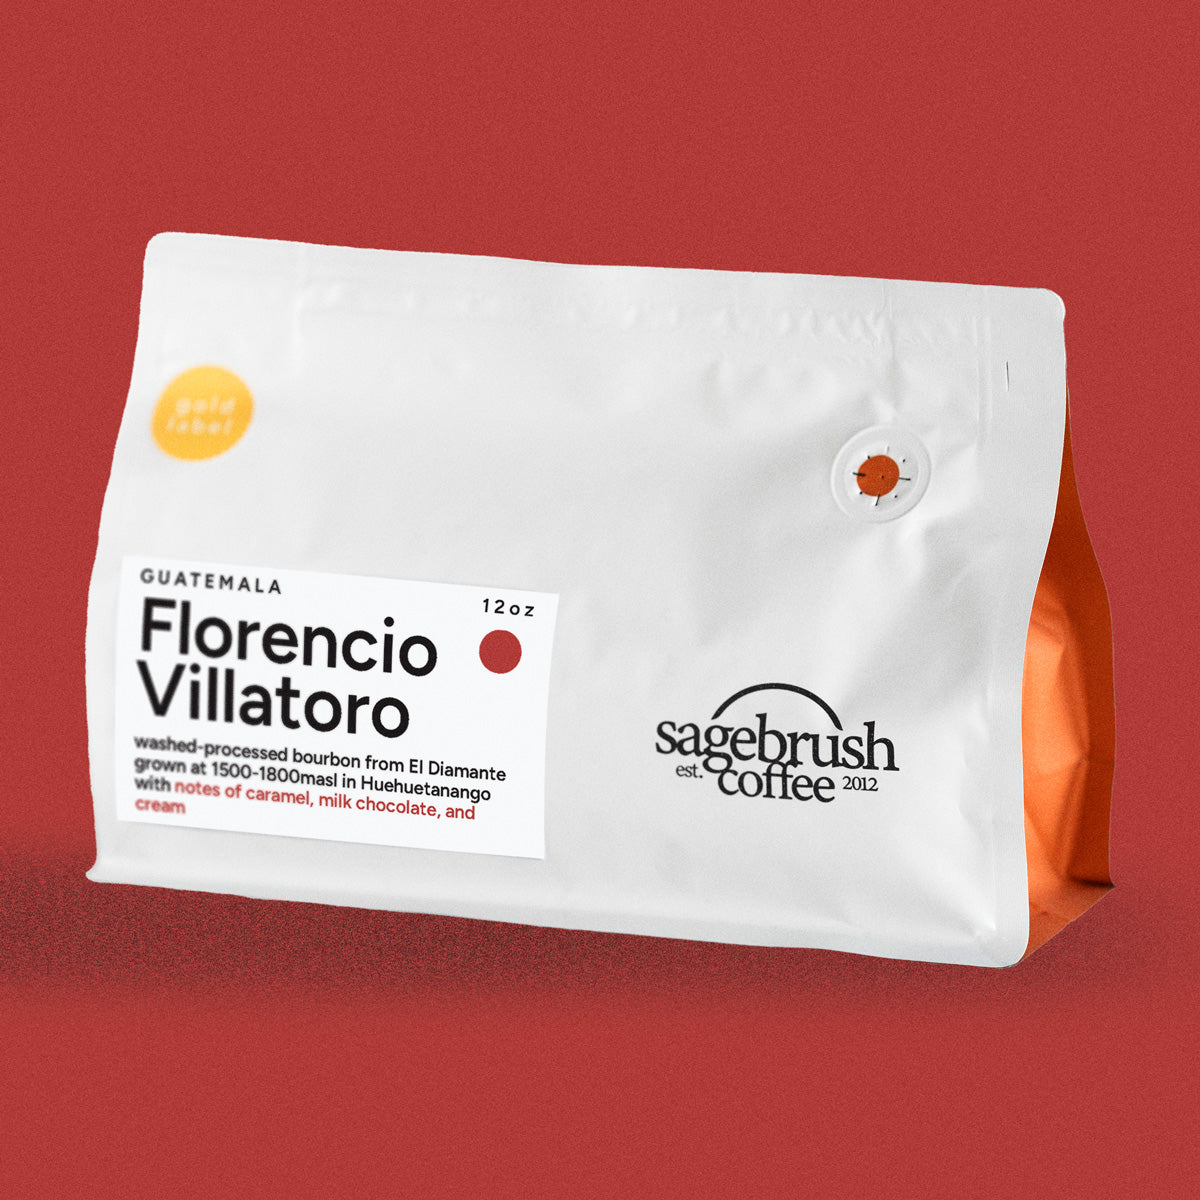
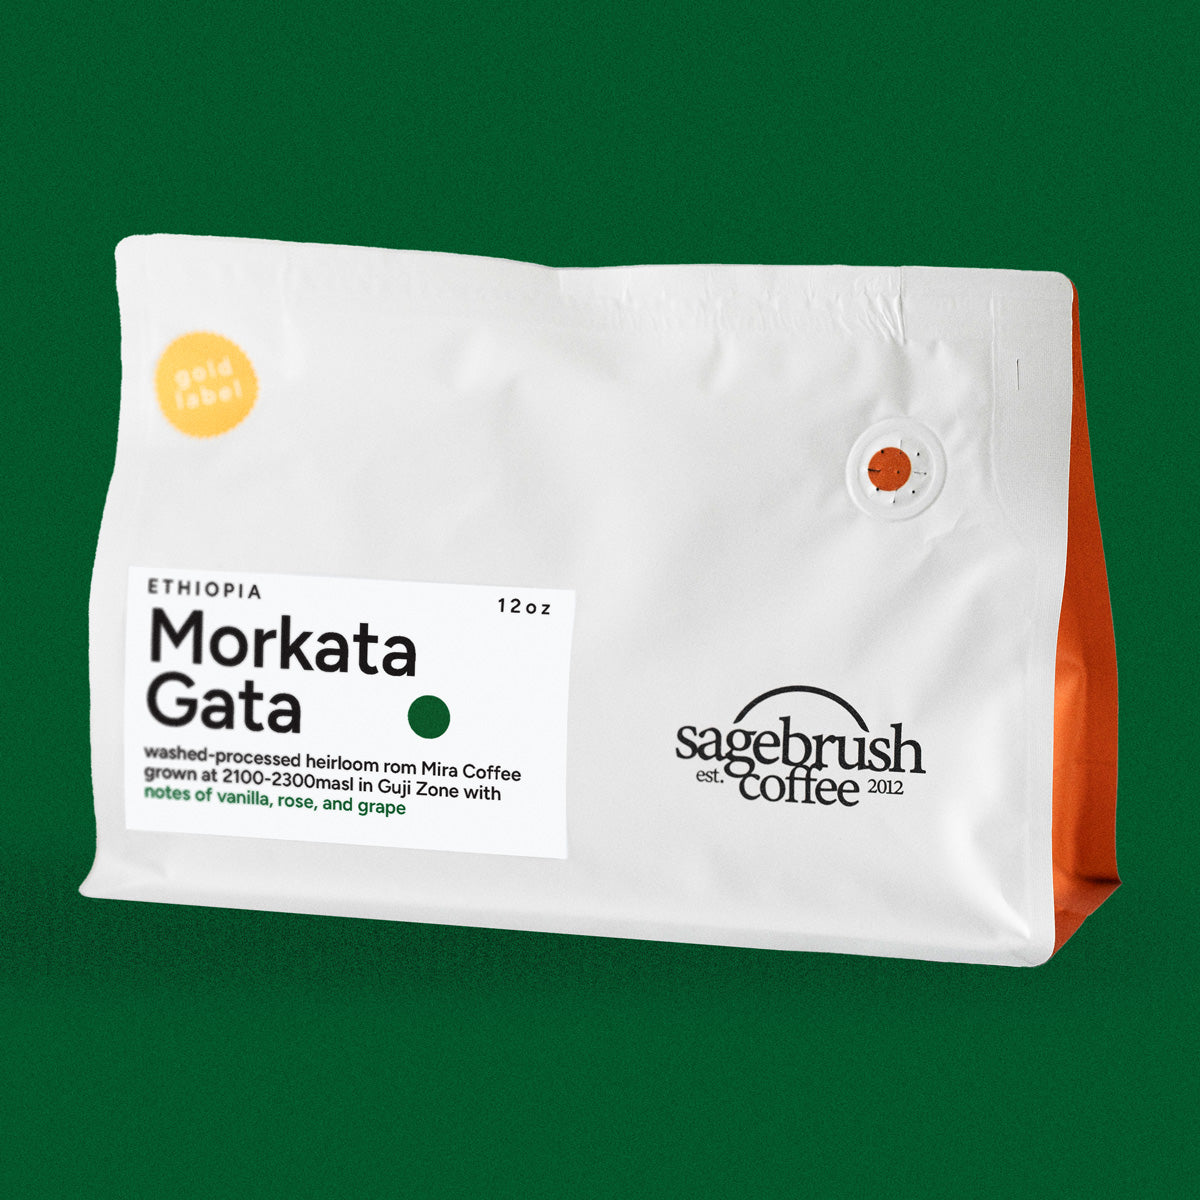
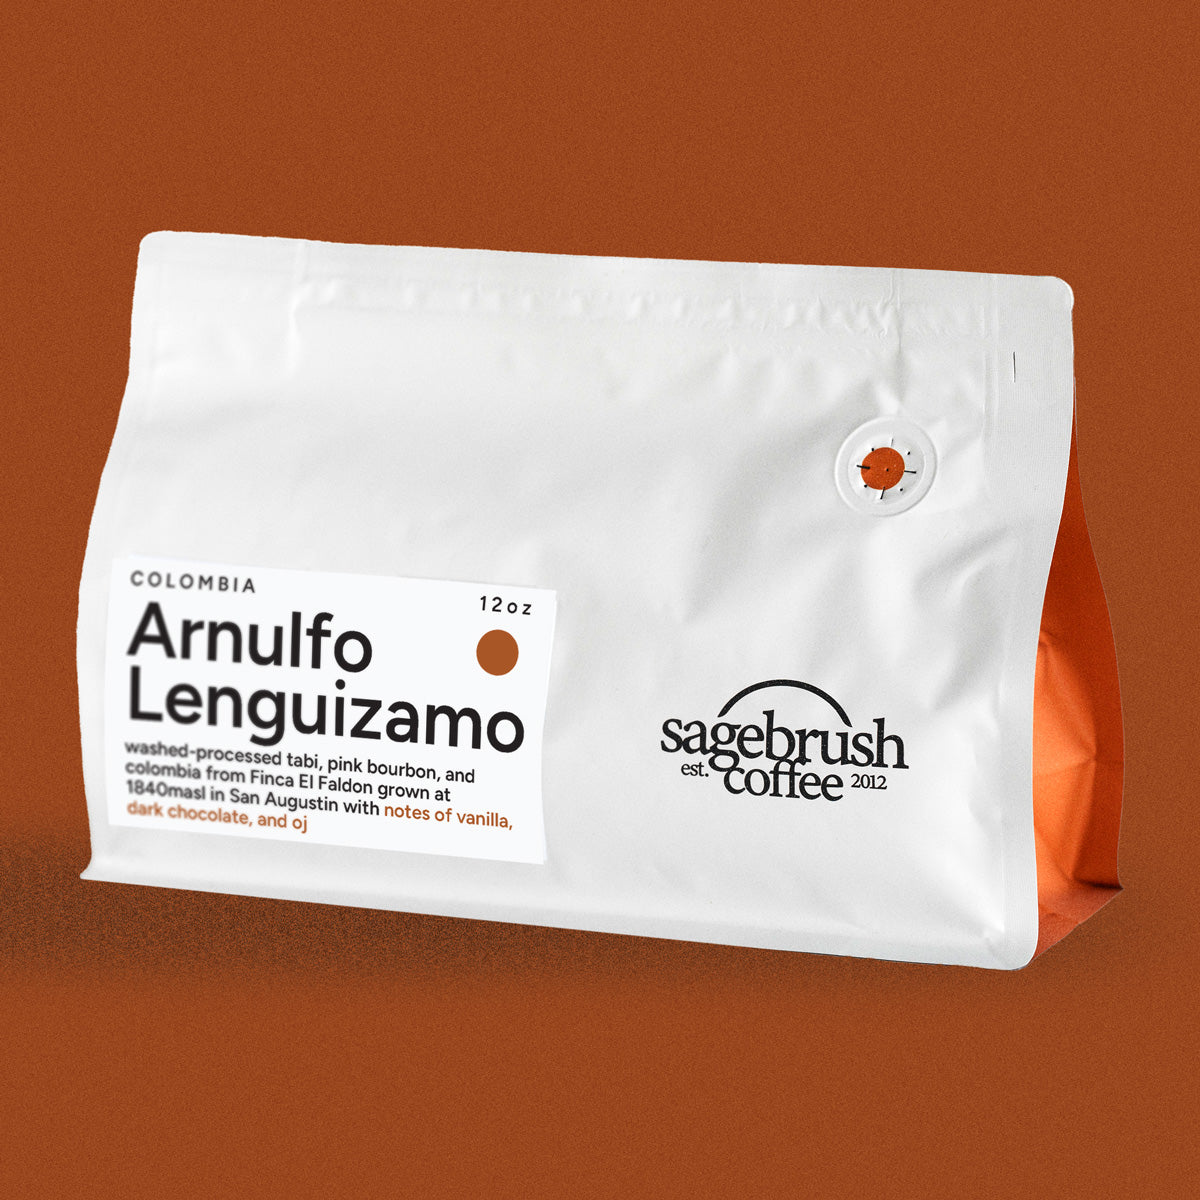
Shop Our Coffees


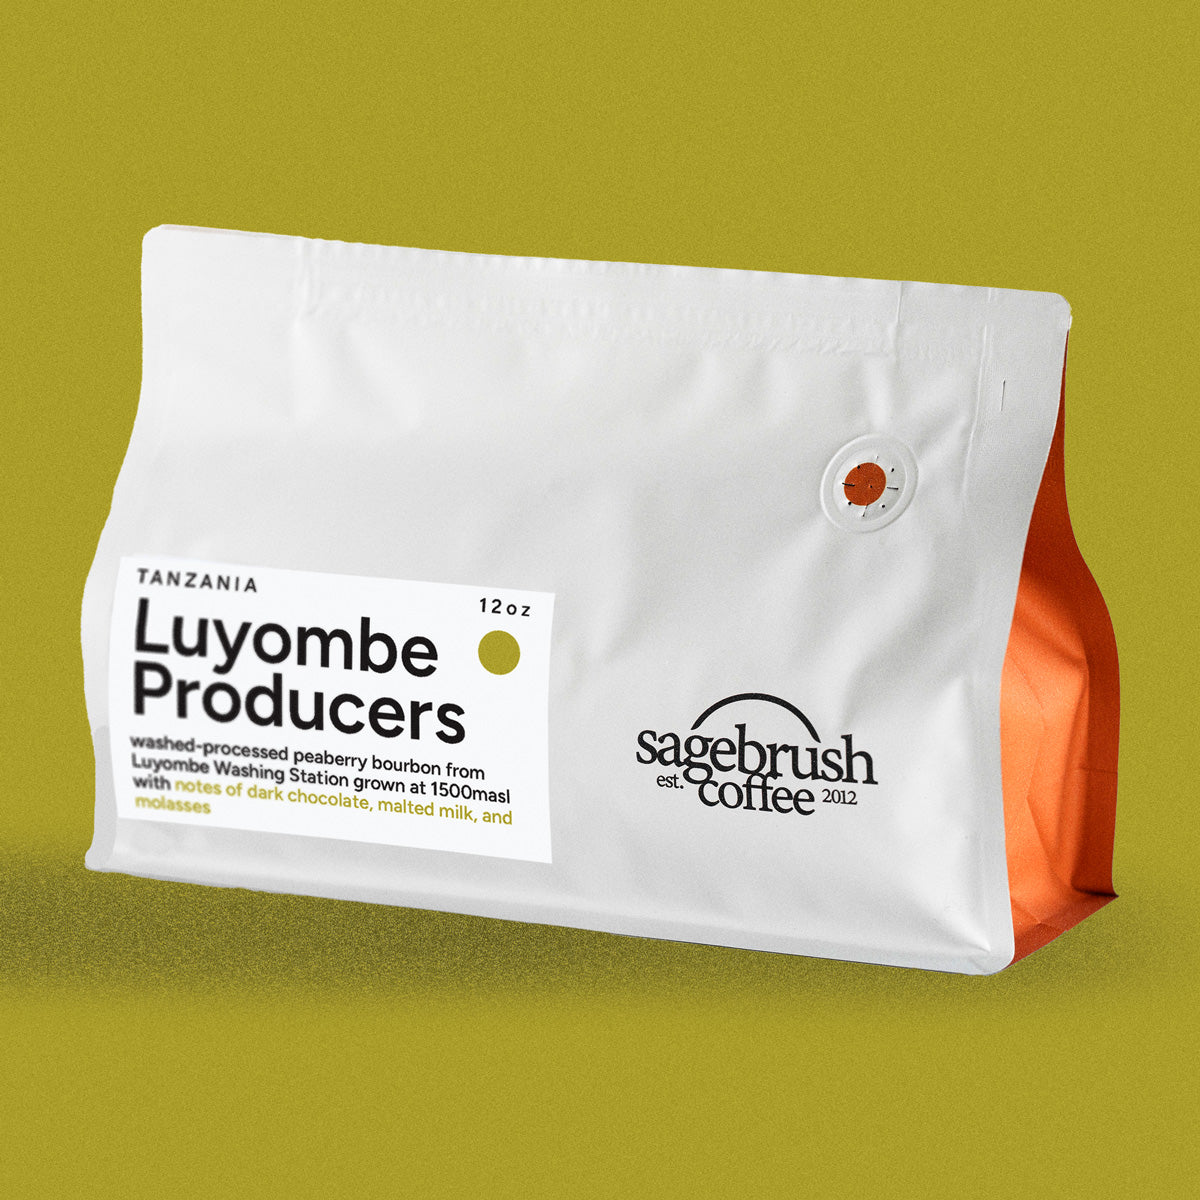

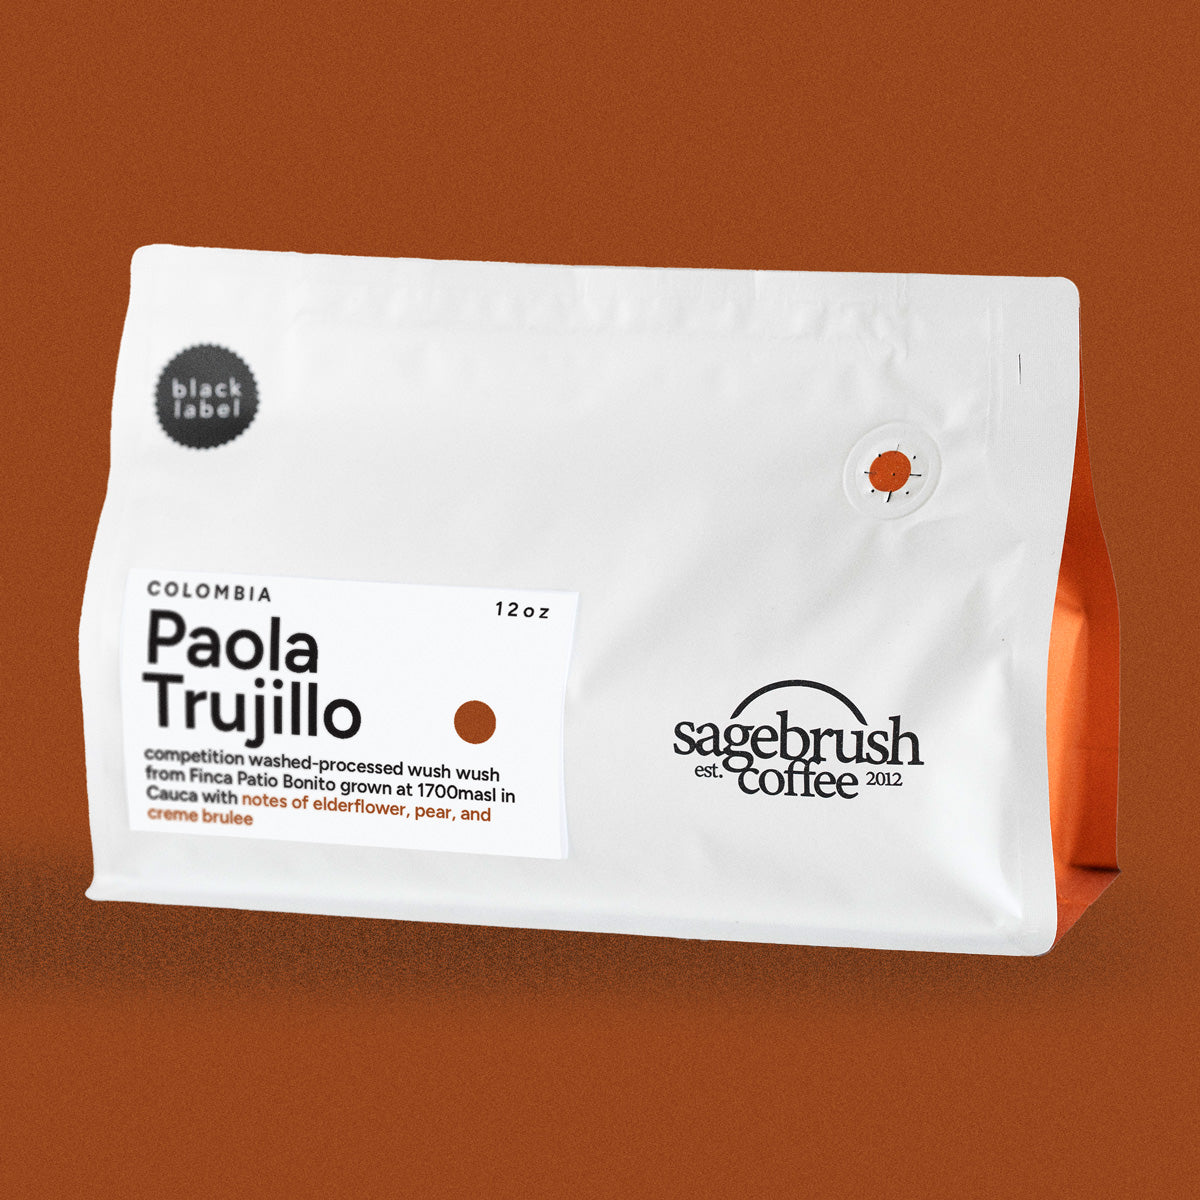

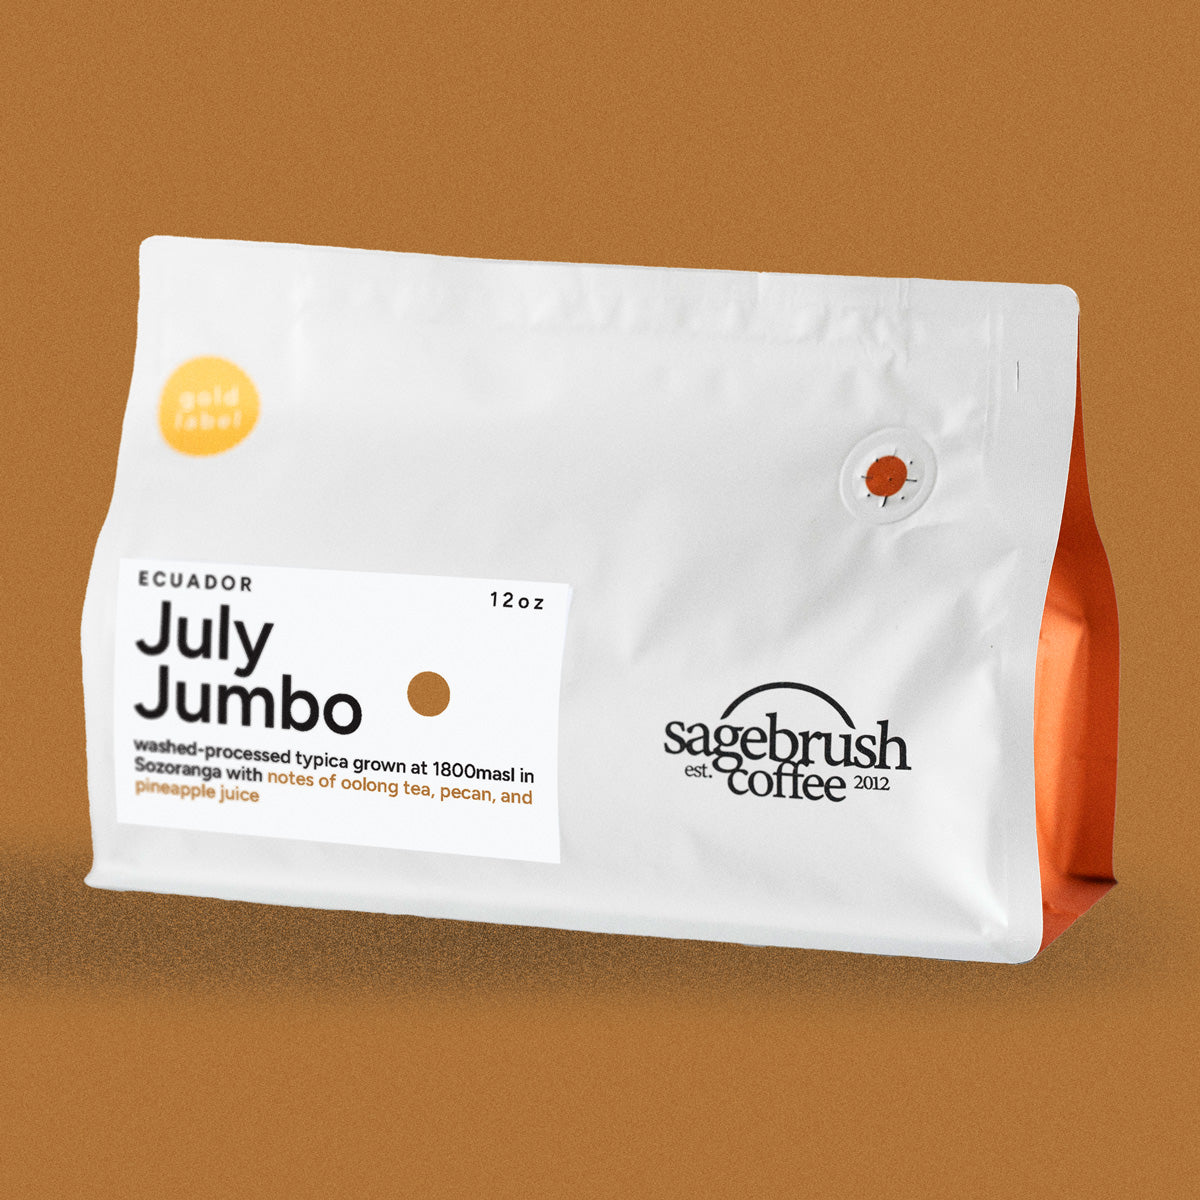
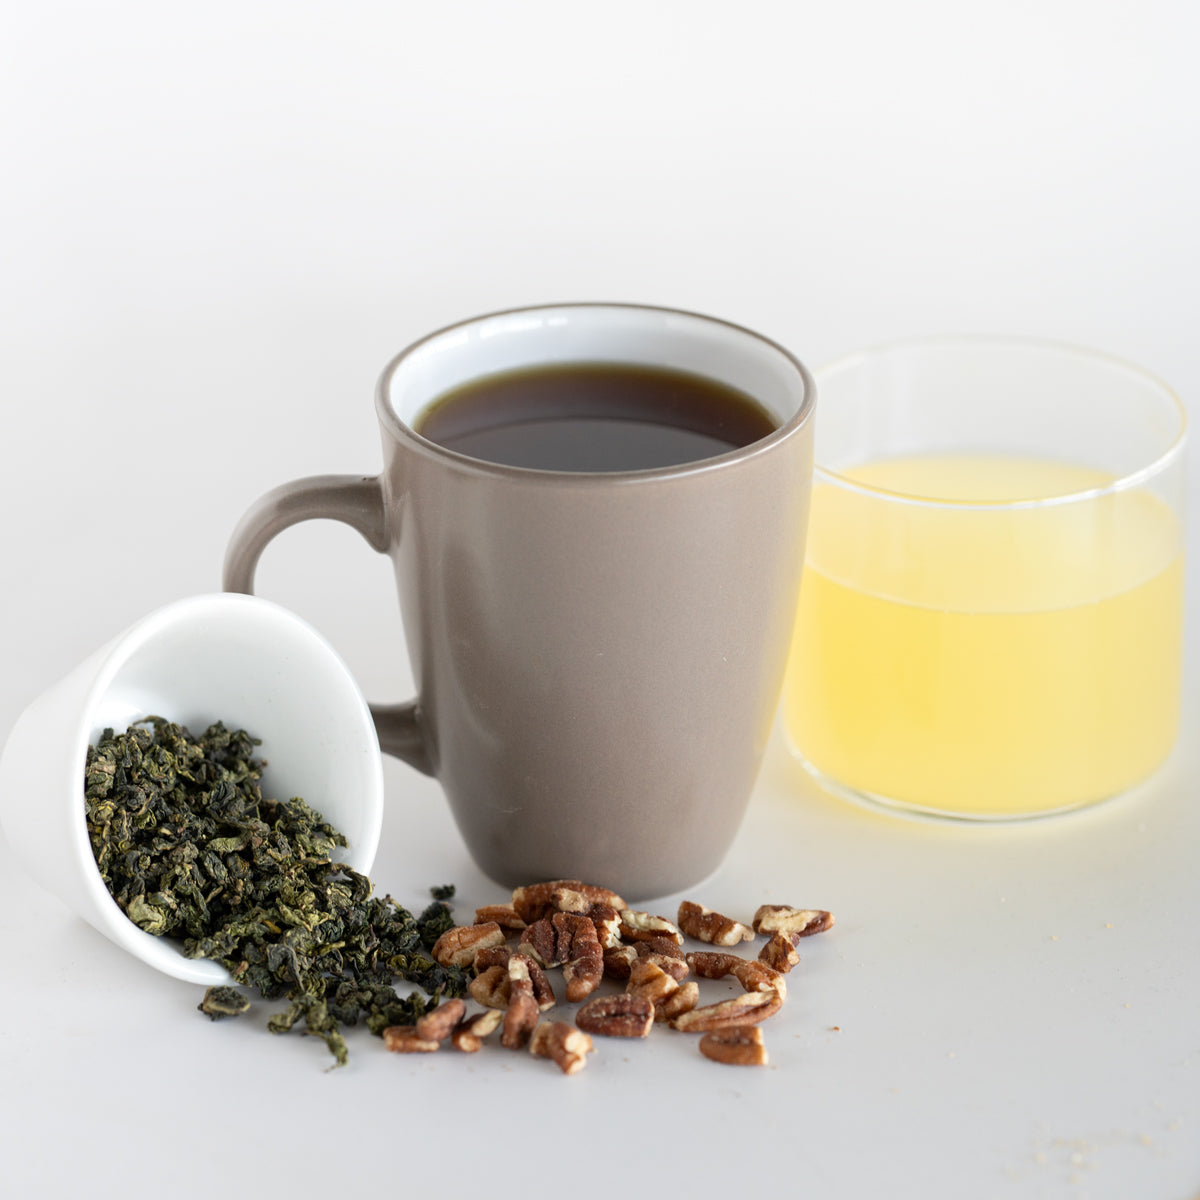
July Jumbo • Washed-Processed Typica
Deep Dive Into Coffee Roasting Articles