Coffee is an incredibly complex plant and, when processed and roasted properly, can create some pretty interesting and dynamic cups.
We here at Sagebrush feel that a conical brewer such as the HARIO V60 is capable of displaying these interesting flavor profiles the best. This article will walk you through what we do on-bar to make our pour-overs, our pour-over recipe, as well as some tips and tricks on how you can recreate it at home.
This originally was intended as a guide for onboarding and training our baristas, but hopefully, at home, you can use what we have as a standardized recipe as a launching point for what you can do with pour-overs. The fun of coffee brewing is you then get to tweak and play with it to build your favorite workflow.
If you watch the video below, you’ll get the same content with visuals that may be helpful. Or, if you prefer, keep reading, and we’ll walk you through it with this article.
To start we like to use a couple of items.
First we have an atomizer or just a regular spray bottle. It sprays a mist of water. The other item is just a normal chopstick. We like to use a stainless steel chopstick that is easier to clean.
We also use a glass pitcher for pouring the cups into and a dosing cup, which is helpful if you want to do just single cup brews. Otherwise, you can pretty much use any bowl or small mug.

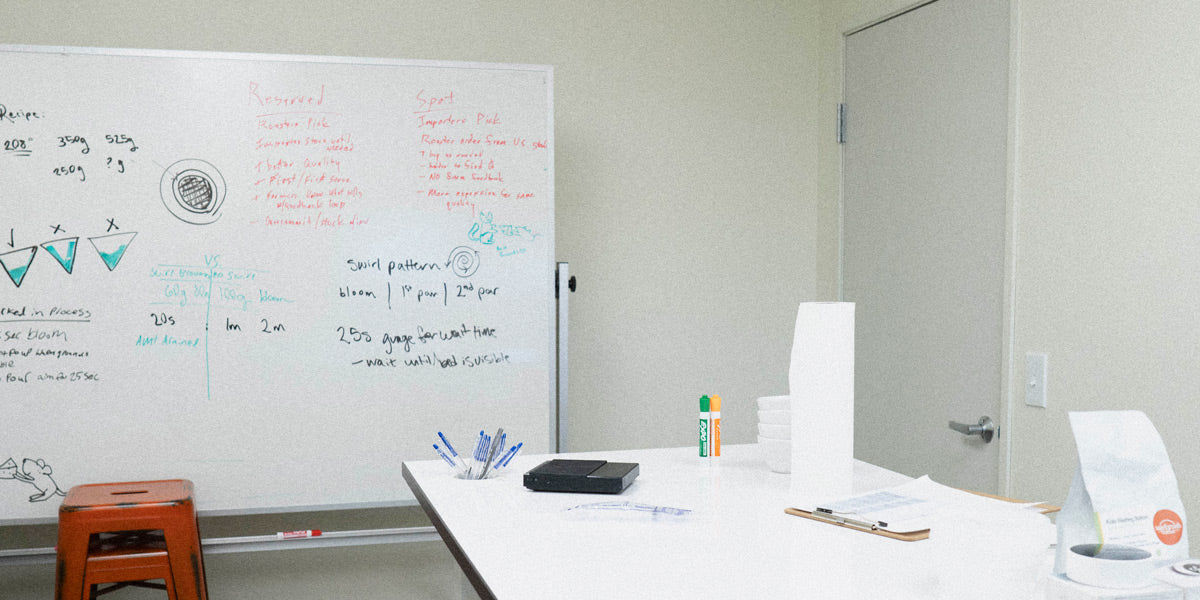
In the image above, we have written out our on-bar recipe for each of the coffees that we have available for pour-over. This is something that we've found to be the best for putting nice, bold, thick-bodied coffees on display as well as interesting and complex nuanced coffees. It's a good recipe to use as a baseline, and then you can tweak it from there.
So, what's in each quadrant?
The difference between regular and large sizes is that we offer a 12-ounce pour-over as well as a 20-ounce one. We offer a hot pour-over as well as flash-brewed pour-overs.
Now, each of these has differences because the differences in extraction are greatly affected. When brewed iced, you create a higher concentration of coffee to dilute with ice to make sure that it does not water down after you're done brewing.
So, for our hot regular, which is our most commonly ordered pour-over, we have a 70g bloom, which is about three times the amount of coffee that we have dosed out. And then we have 130 gram pour up to 200 grams on your scale and finally a 150 gram pour that takes you up to 350 grams on your scale. So, the final gram amount for water is the 350g.
Now I say gram amount, because if you're brewing at home, you should be using a kitchen scale every single time.
This is the best way to ensure that you're getting consistent cups every single day. It is also a helpful guideline for understanding how to create better cups as you progress in your brewing and understand a bit more of the nuances of each of them. If you're not using a scale, then you're either eyeballing it or using volume, and this will always be less consistent.
Think of it this way: when you brew a perfect cup of coffee, you’ll want to recreate it the next day. The more you measure and the better you measure, the better chance you have of being able to do that.
For our large cup, we start with a larger dose of coffee (34g). On bar, the sequential 2-3 or 3-4 makes it easier to remember. The large is about 50% more of the dose, and that inherently creates about 50% more coffee in the final cup as well. We try to maintain about a 15:1 ratio in our brews.
This is our preference, but play with it--try 16:1 or 17:1 or even go to 19:1 and see what you enjoy. This ratio is in reference to the amount of water vs the amount of coffee beans.
For our large pour-overs, we'll be dozing out about 34 grams of coffee, followed by 525 grams of water. So that produces about a 490g to 475g brew and produces about a 15:1 ratio. Playing with these rations will give you some understanding of extraction and the differences that come out in the final cup versus the way that you're extracting your coffee.
We’ve found that not a lot of people flash brew or brew their pour-over over ice, but we live in AZ, and you have to have iced coffee for about half the year. So for our iced pour-overs, our grind size is going to be much finer, a pretty significant portion finer to allow for more of those coffee particles to be extracted within a 250g pore.
Now, we have the same dose amount, so there will be a much higher concentration of coffee within this brew. However, pairing it with 100 grams of ice at the bottom of the pitcher will automatically dilute it into a consistent coffee particle amount.
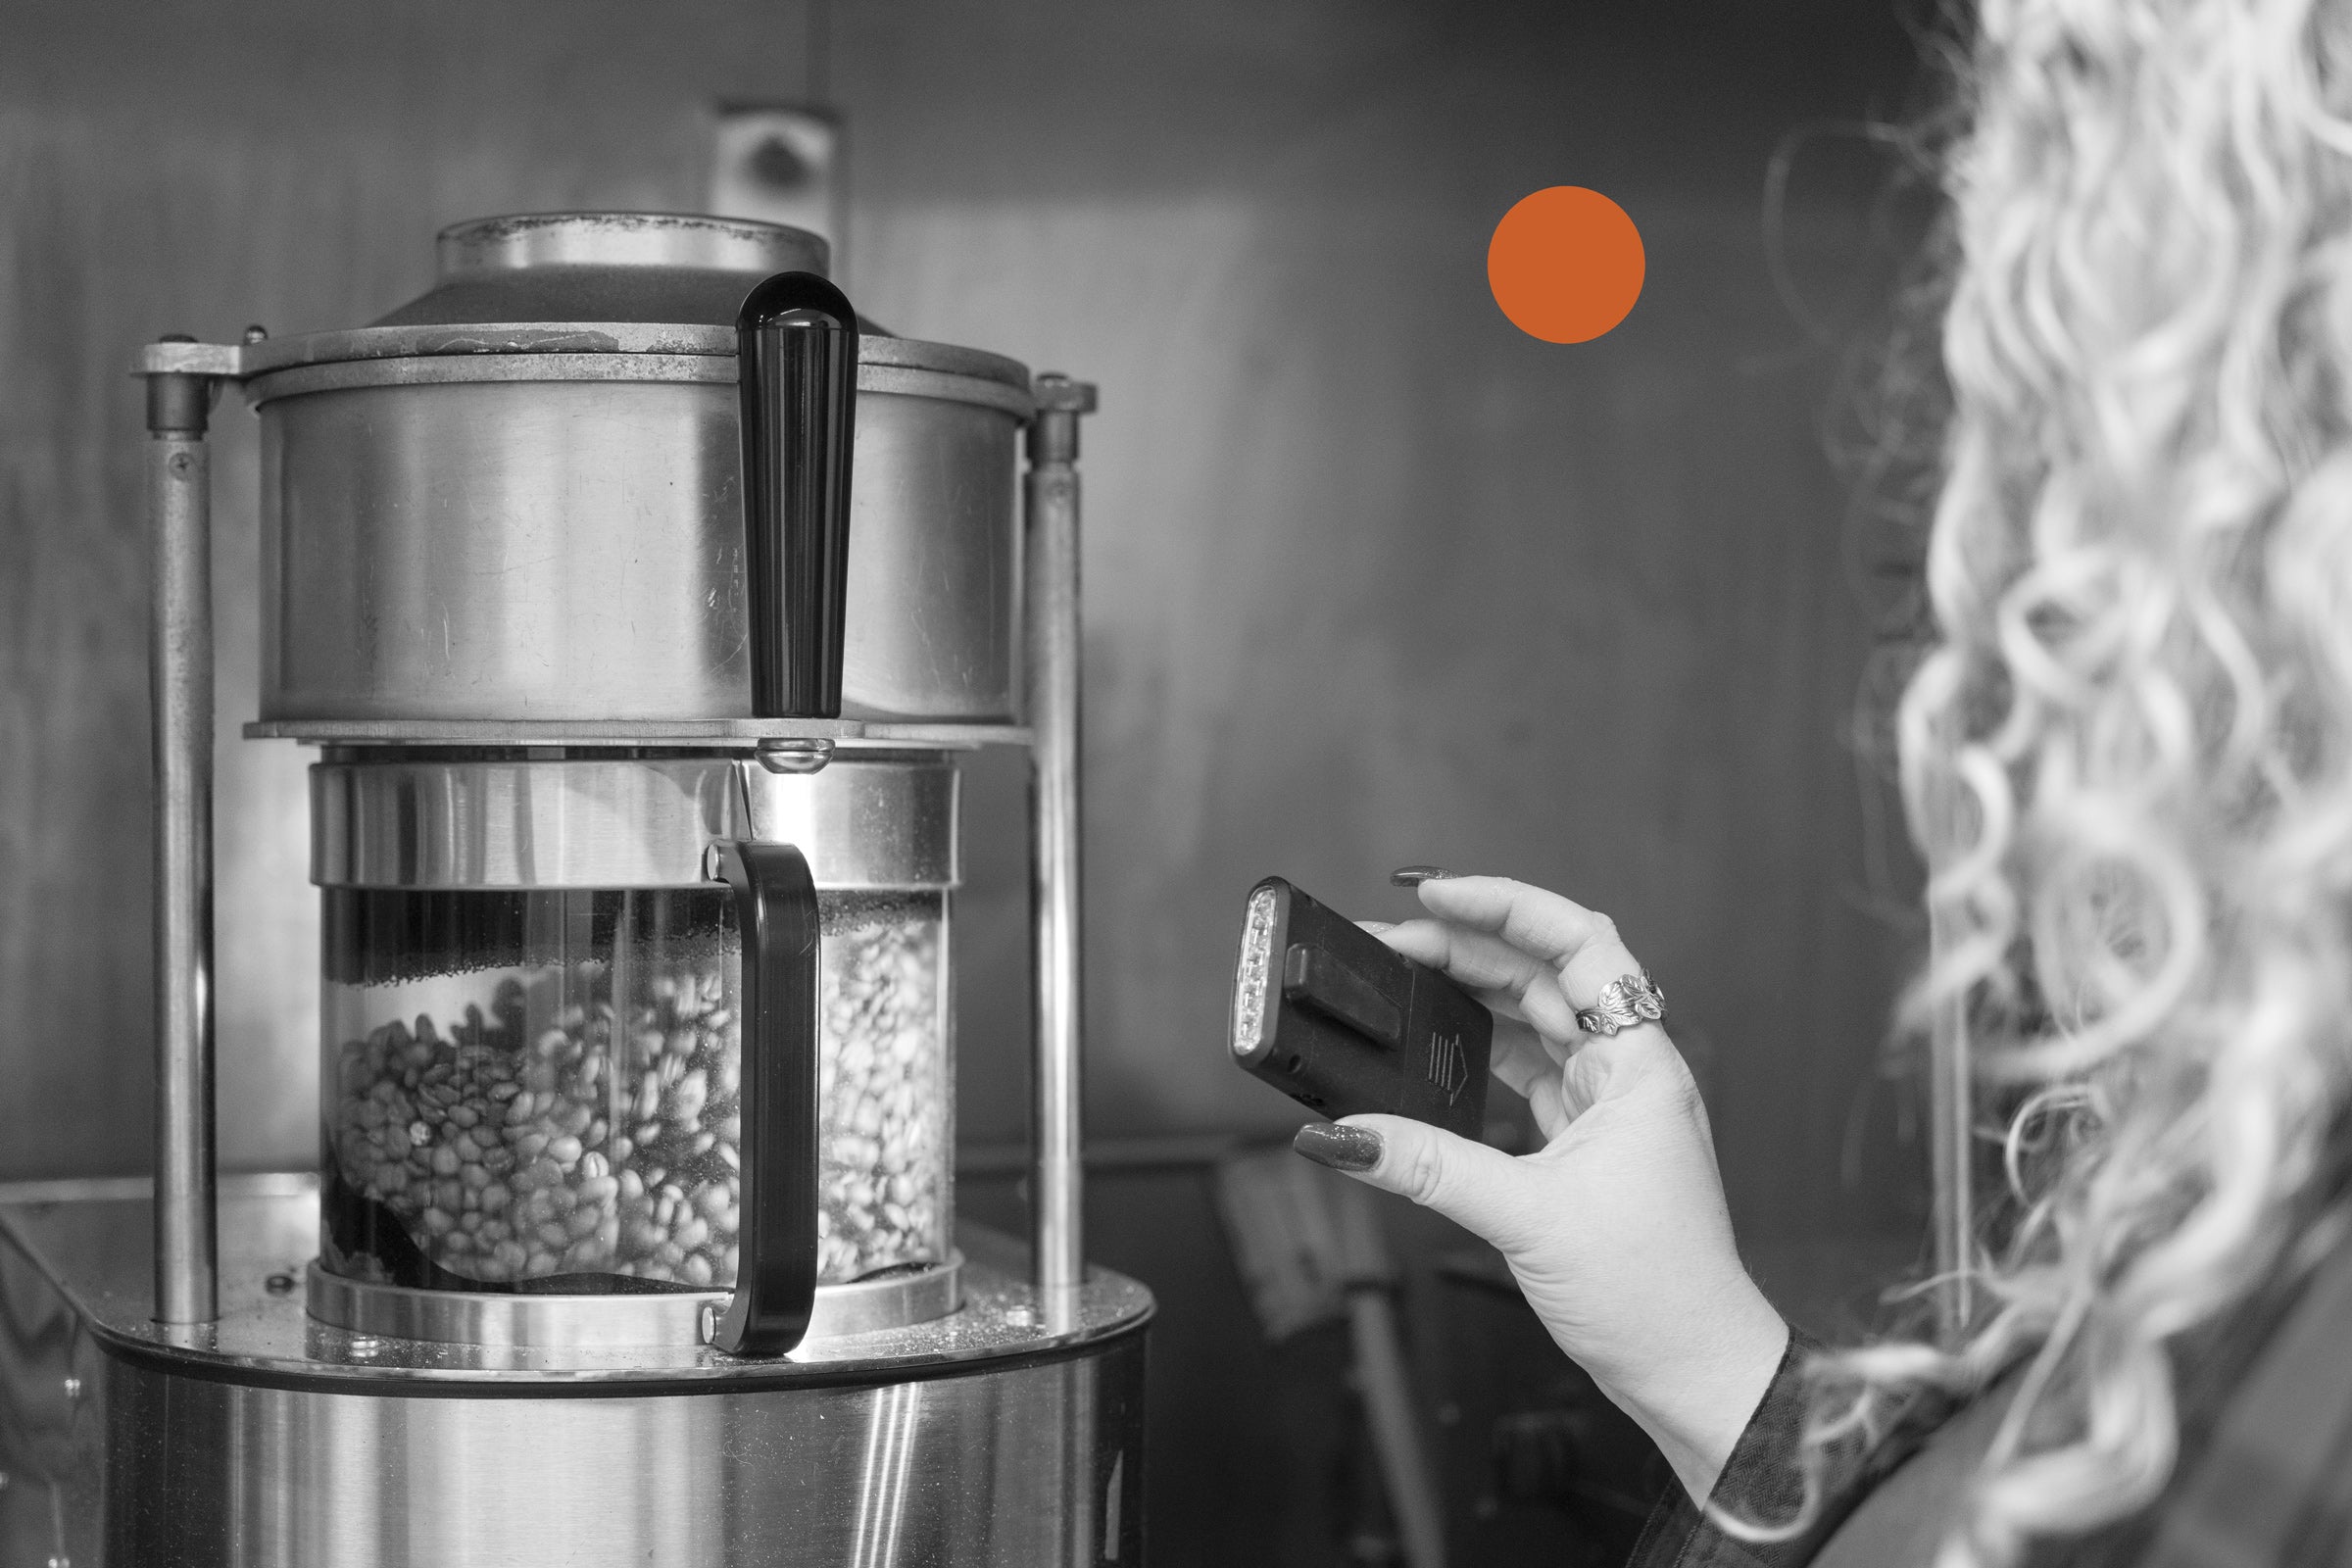
What this means is when we were dialing in this recipe, we used a TDS meter. We used this to ensure that the extraction that we were achieving out of the large ice is the same as the large hot. So those differences are something that we have honed in and tried to dial in properly. And that's with the EK43 grinder that we use on-bar. Ultimately, this is something that you're going to have to play with at home. If you happen to have a TDS meter, calibrate the grind settings to your grinder. For us on our EK43, we have it calibrated for a regular hot at a 10.5 grain size and an iced hot is going to use an 8.5 grain size.
Now that we’ve walked through our recipes, we would encourage you to watch the video to see the demonstration. This demo starts at the 7:25 mark of the video.
Good luck with your home brewing!
